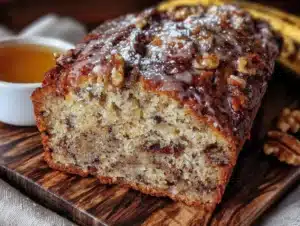
My neighbor, a retired baker named Frank, asked why I couldn’t just mash the bananas right in the mixing bowl instead of dirtying a separate dish. I was twenty-two, fresh out of culinary school, and I had very specific opinions about mise en place. I started to explain why that wouldn’t work — then stopped. He was holding a wooden spoon and looking at me with the patient expression of a man who had baked thousands of loaves. I handed him the bowl. He mashed three overripe bananas against the sides with the back of a fork, seeds and all, and scraped the butter in right on top of the mess. I honestly thought it would ruin the texture. Let me tell you, I have never been happier to be wrong.
That loaf came out of the oven with a crackled top that looked like a golden river had split through the center. The crumb was so tender it practically fell apart under the butter knife. Frank didn’t say a word — he just pointed at the bowl I had been so precious about, then tapped his temple. Maybe you’ve been there, stubbornly clinging to a technique you learned in a textbook while someone with calloused hands shows you a better way in thirty seconds. That afternoon changed how I approach quick breads entirely. This one-bowl banana bread with walnuts is the direct result of that humbling moment. It is faster, has fewer dishes, and somehow tastes better than any version I ever made the fussy way. I keep making it because it reminds me that good cooking is less about rules and more about trusting the process — and sometimes, trusting the guy next door.
Why You’ll Love This Recipe
This is the banana bread you will actually make on a Tuesday afternoon without dreading the cleanup. It comes together in one bowl with a wooden spoon and a spatula — no stand mixer, no sifting, no separate wet and dry bowls. The walnuts add a toasty crunch that plays perfectly against the ultra-moist, almost pudding-like interior. I have tested this recipe at least a dozen times, tweaking the fat ratio and the baking time until the center stays tender without turning gummy. It is family-approved, neighbor-approved, and honestly, it makes your kitchen smell like a bakery for hours.
- One Bowl, No Fuss: Mix everything in a single bowl. Less mess, less stress, more banana bread.
- Perfectly Moist Every Time: The combination of melted butter and very ripe bananas creates a texture that stays soft for days.
- Pantry-Friendly Ingredients: You probably have everything already — flour, sugar, eggs, butter, bananas, and walnuts.
- Crowd-Pleaser: I have brought this to potlucks, brunches, and casual dinner parties. It disappears fast, every single time.
- Freezes Beautifully: Bake two loaves. Eat one now, stash one for later. Future you will be very grateful.
What makes this version different from the hundreds of banana bread recipes out there? It is the method — mashing the bananas directly in the bowl with the butter and sugar before adding the dry ingredients. That simple change creates a smoother batter with better emulsification. The result is a loaf that stays moist at room temperature for three days without getting that weird wet streak in the middle. It is comfort food stripped of unnecessary complication.
What Ingredients You Will Need
This recipe uses simple, everyday ingredients that work together to deliver a tender crumb and rich, nutty flavor. Nothing fancy, nothing hard to find. Here is what you need and why each one matters.
- Bananas, very ripe (about 3 medium, or 1 ½ cups mashed): The darker the better. Spotty brown peels are ideal — they are sweeter and mash more easily. If your bananas are still yellow, roast them in the oven at 300°F for 15 minutes to speed up the ripening.
- Unsalted butter, melted (½ cup / 113g): Melted butter gives the bread a denser, more tender texture than creamed butter. I use Kerrygold for the flavor, but any good unsalted butter works. Salted butter is fine too — just reduce the added salt by ¼ teaspoon.
- Granulated sugar (¾ cup / 150g): Classic white sugar keeps the crumb light and sweet. You can substitute coconut sugar for a deeper flavor, though the texture will be slightly denser.
- Large egg (1, at room temperature): The egg binds everything together and adds structure. If you forget to take it out of the fridge, place it in a bowl of warm water for 5 minutes.
- Vanilla extract (1 teaspoon): Pure vanilla adds warmth and depth. Skip the imitation stuff if you can — it makes a real difference here.
- All-purpose flour (1 ½ cups / 190g): Spoon and level your flour into the measuring cup. Scooping directly from the bag packs in too much flour and makes the bread dry. For a whole wheat version, swap half the flour for white whole wheat flour.
- Baking soda (1 teaspoon): This is the only leavener you need. Make sure it is fresh — test it by dropping a pinch into vinegar. If it fizzes vigorously, you are good.
- Salt (½ teaspoon): Salt balances the sweetness and enhances the banana flavor. I use fine sea salt.
- Ground cinnamon (1 teaspoon): Cinnamon and banana are a classic pairing. It adds warmth without overpowering the fruit. Freshly ground cinnamon is noticeably more fragrant.
- Walnuts, chopped (¾ cup / 85g): Toast them first for maximum flavor. Spread the walnuts on a baking sheet and bake at 350°F for 6-8 minutes, until fragrant. Let them cool before folding into the batter. This step is not optional — toasting transforms the nuts from bland to buttery.
Equipment Needed
You do not need a stand mixer or a food processor for this recipe. Here is what you actually need.
- Large mixing bowl: Any bowl works, but a wide one makes mashing and mixing easier. I use a ceramic bowl because it does not slide around on the counter.
- Fork or potato masher: A fork is fine. A potato masher is faster. Either way, you want the bananas broken down with a few small lumps remaining.
- Wooden spoon or rubber spatula: For folding the dry ingredients into the wet. A spatula gives you more control and helps scrape the sides clean.
- 9×5-inch loaf pan: Glass, metal, or ceramic all work. Metal pans conduct heat best and produce a darker crust. If using glass, reduce the oven temperature by 25°F to prevent over-browning.
- Parchment paper: Lining the pan makes removal effortless. Leave a two-inch overhang on the long sides to use as handles.
- Cooling rack: Essential for even cooling. Leaving the bread in the pan traps steam and makes the bottom soggy.
- Measuring cups and spoons: For accuracy. Dry measuring cups for flour and sugar, liquid measuring cup for the melted butter.
If you do not have a loaf pan, you can bake the batter in a 9-inch square pan and reduce the baking time to 30-35 minutes. Muffin tins work too — fill them two-thirds full and bake for 18-22 minutes.
Preparation Method
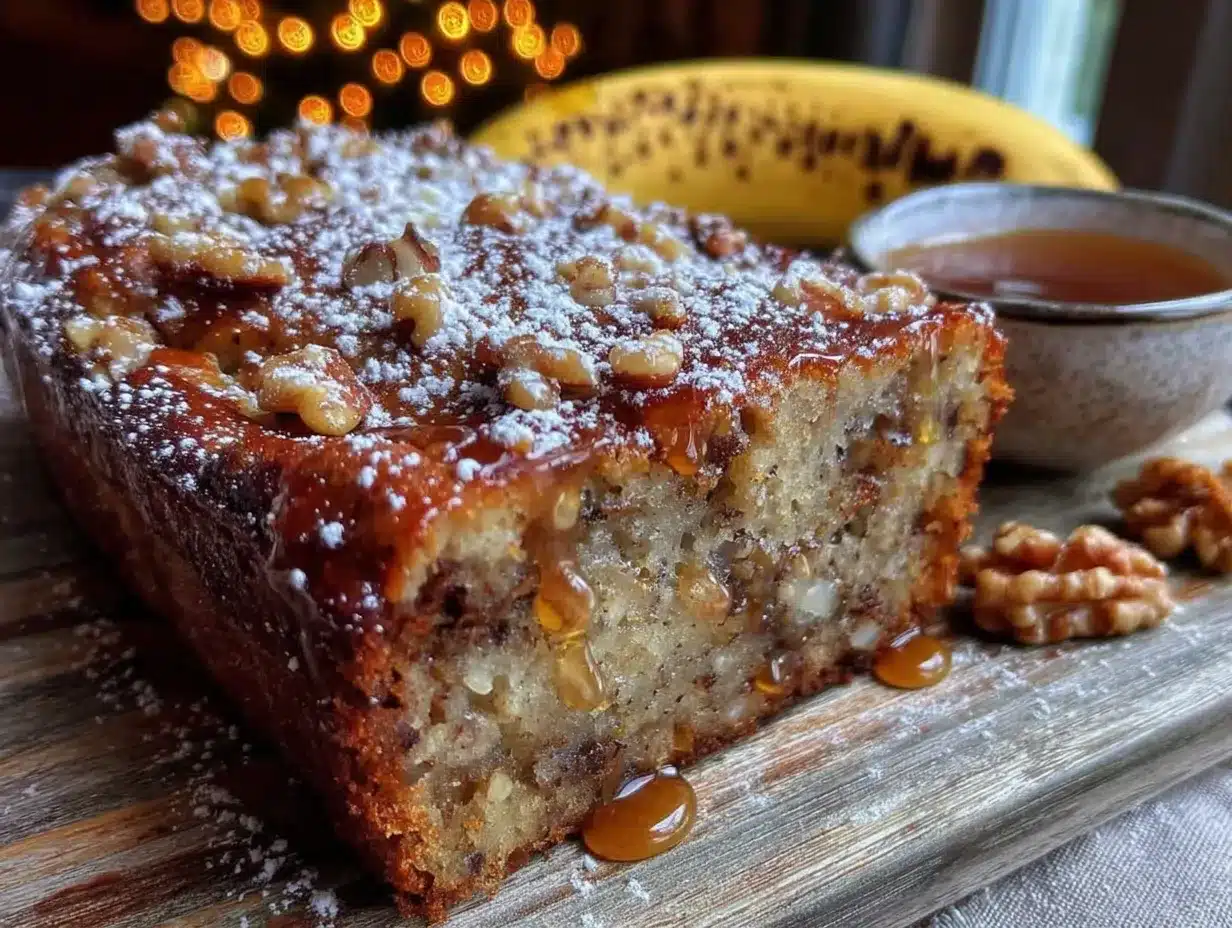
Preheat your oven to 350°F (175°C). Position the rack in the center. Line a 9×5-inch loaf pan with parchment paper, leaving an overhang on the two long sides. Lightly grease the exposed ends with butter or nonstick spray.
- Mash the bananas directly in the bowl. Place the peeled bananas in your large mixing bowl. Mash them with a fork or potato masher until mostly smooth with a few small lumps remaining. You want about 1 ½ cups of mashed banana. Too chunky and the bread will have uneven pockets of fruit. Too smooth and you lose that rustic texture.
- Add the melted butter and sugar. Pour the melted butter over the bananas, then add the sugar. Stir with your wooden spoon or spatula until combined. The mixture will look slightly grainy — that is normal. The sugar needs a moment to dissolve.
- Mix in the egg and vanilla. Crack the egg into the bowl and add the vanilla extract. Stir until the egg is fully incorporated and the batter looks smooth and glossy. Scrape the bottom of the bowl to make sure nothing is hiding down there.
- Add the dry ingredients. Sprinkle the flour, baking soda, salt, and cinnamon over the wet mixture. Do not dump them all in one pile — distribute them a bit so the baking soda does not clump. Fold gently with your spatula, using broad strokes from the bottom up. Stop as soon as you no longer see streaks of flour. Overmixing develops gluten and makes the bread tough. A few small lumps are fine.
- Fold in the walnuts. Add the toasted, chopped walnuts. Fold them in with three or four turns of the spatula. Do not overwork the batter. Reserve a small handful of walnuts to sprinkle on top if you want a prettier crust.
- Transfer the batter to the pan. Scrape the batter into the prepared loaf pan. Spread it evenly with the spatula. Sprinkle the reserved walnuts over the top if you like. Tap the pan gently on the counter twice to release any air bubbles.
- Bake for 55-65 minutes. Place the pan in the preheated oven. Bake until the top is deep golden brown and a toothpick inserted into the center comes out clean or with a few moist crumbs. Start checking at 55 minutes. If the top is browning too quickly, tent loosely with aluminum foil after 40 minutes.
- Cool in the pan for 15 minutes. Set the pan on a cooling rack. Let the bread rest for 15 minutes — this allows the structure to set so it does not fall apart when you remove it.
- Remove and cool completely. Use the parchment overhang to lift the bread out of the pan. Transfer it directly to the cooling rack. Let it cool completely before slicing, at least 1 hour. I know it is tempting, but slicing warm banana bread results in crumbly, gummy slices. Patience pays off here.
Cooking Tips & Techniques
I have made this recipe so many times that I have a mental list of things that can go wrong. Here is what I learned the hard way so you do not have to.
Use overripe bananas. This is the single most important tip. Green or yellow bananas lack the sugar and moisture needed for a good loaf. If your bananas are not spotty, place them on a baking sheet and roast at 300°F for 15-20 minutes until the skins turn black. They will be soft and intensely sweet.
Measure your flour correctly. The most common mistake is scooping the measuring cup directly into the flour bag. This packs in up to 25% more flour than intended. Instead, spoon the flour into the cup, then level it off with a flat edge. If you have a kitchen scale, weigh it — 190 grams is the sweet spot.
Do not overmix the batter. Once you add the flour, mix only until the streaks disappear. Overmixing develops gluten, which makes the bread dense and rubbery. A few lumps are not just okay — they are desirable. They will bake out in the oven.
Check for doneness with a thermometer. A toothpick test works, but an instant-read thermometer is more reliable. Banana bread is done when the internal temperature reaches 200-205°F. Insert the thermometer into the center of the loaf through the top crack.
Let it cool completely. I once sliced into a loaf after 30 minutes because I could not wait. The center was gummy and the slices fell apart. Cooling allows the starches to set and the moisture to redistribute. One hour on the rack is non-negotiable.
Toast the walnuts. Raw walnuts are fine, but toasted walnuts are transformative. The heat releases their natural oils and deepens their flavor. Toast them in a dry skillet over medium heat for 3-4 minutes, shaking the pan frequently, or in the oven while it preheats. Watch them closely — they burn fast.
Variations & Adaptations
This one-bowl banana bread is endlessly adaptable. Here are a few ways to switch it up depending on your mood or what is in your pantry.
- Chocolate Chip Banana Bread: Swap the walnuts for ¾ cup of semi-sweet or dark chocolate chips. The chocolate melts into pockets of richness throughout the loaf. For an extra indulgence, use both walnuts and chocolate chips — just keep the total add-ins to 1 cup.
- Gluten-Free Version: Replace the all-purpose flour with a 1:1 gluten-free baking flour blend that contains xanthan gum. I have tested this with Bob’s Red Mill 1-to-1 Baking Flour and it works beautifully. The texture is slightly more crumbly, but the flavor is identical. Add an extra tablespoon of milk or yogurt to compensate for the drier flour blend.
- Vegan Banana Bread: Substitute the melted butter with melted coconut oil or a neutral vegetable oil. Replace the egg with a flax egg (1 tablespoon ground flaxseed mixed with 3 tablespoons water, let sit for 5 minutes). The bread will be slightly denser but still delicious. Use maple syrup instead of granulated sugar for a refined sugar-free option.
- Spiced Banana Bread: Add ½ teaspoon of ground nutmeg, ¼ teaspoon of ground ginger, and a pinch of ground cloves along with the cinnamon. This creates a warmer, more aromatic loaf that pairs beautifully with a cup of chai or coffee.
- Banana Nut Muffins: Divide the batter among a 12-cup muffin tin lined with paper cups. Bake at 350°F for 18-22 minutes, until the tops spring back when touched. This is my go-to for brunch potlucks — they are portable and portion-controlled.
Serving & Storage Suggestions
This banana bread is best served at room temperature with a generous smear of salted butter. The contrast between the warm, tender crumb and the cold butter is honestly one of life’s simple pleasures. For a more decadent breakfast, toast a slice and drizzle it with honey or maple syrup. A dollop of Greek yogurt on the side balances the sweetness.
It also makes an excellent dessert. Serve it warm with a scoop of vanilla ice cream and a drizzle of caramel sauce. The combination of cold, creamy ice cream and warm, nutty banana bread is next-level comfort food. For a holiday brunch, dust the top with powdered sugar and arrange fresh banana slices on the serving plate.
Storage: Wrap the cooled loaf tightly in plastic wrap or aluminum foil. Store at room temperature for up to 3 days. Do not refrigerate — the cold temperature dries out the bread and accelerates staling. If your kitchen is very warm, store it in a cool, dark place like a pantry or bread box.
Freezing: This bread freezes beautifully. Wrap the cooled loaf in a layer of plastic wrap, then a layer of aluminum foil. Freeze for up to 3 months. To thaw, leave it on the counter overnight still wrapped. Remove the wrapping before reheating. For individual slices, wrap each slice in plastic wrap and store in a freezer bag. Toast frozen slices directly from the freezer in a toaster or oven at 350°F for 5-7 minutes.
Reheating: The best way to revive leftover banana bread is in a 300°F oven for 10 minutes. This restores the crust’s crispness and warms the interior without drying it out. The microwave works in a pinch but makes the bread soft and steamy — fine for a quick fix, but not ideal.
Nutritional Information & Benefits
Here is the approximate nutritional breakdown for one slice of this banana bread (based on 10 slices):
- Calories: 285
- Total Fat: 14g
- Saturated Fat: 6g
- Cholesterol: 45mg
- Sodium: 210mg
- Total Carbohydrates: 36g
- Dietary Fiber: 2g
- Sugars: 18g
- Protein: 4g
Bananas are a great source of potassium, vitamin B6, and vitamin C. They also contain resistant starch, which acts as a prebiotic and supports gut health. Walnuts are rich in omega-3 fatty acids, which are beneficial for heart health and brain function. The combination of fiber from the bananas and walnuts helps keep you full longer than a typical sweet treat.
This recipe is vegetarian and can be made vegan or gluten-free with the substitutions listed above. It contains dairy (butter), eggs, and tree nuts (walnuts). For a nut-free version, omit the walnuts or substitute with sunflower seeds or pumpkin seeds.
I personally love that this bread feels like a treat but is made with whole, recognizable ingredients. It is not health food, but it is honest food — the kind that makes you feel good about what you are eating.
Conclusion
This one-bowl banana bread with walnuts is the recipe I come back to again and again. It is forgiving, adaptable, and produces a loaf that tastes like it took hours of effort when it really took about ten minutes of hands-on time. The walnuts add a satisfying crunch, the bananas keep the crumb impossibly moist, and the one-bowl method means you spend more time eating and less time scrubbing dishes.
I encourage you to make this recipe your own. Swap the walnuts for chocolate chips. Add a pinch of nutmeg. Toast the bread and slather it with butter. The beauty of a simple recipe is that it leaves room for your personality to shine through. Whether you are baking for a crowd or just for yourself on a quiet Sunday morning, this banana bread delivers.
I would love to hear how it turns out for you. Drop a comment below and let me know what variations you tried, or tag me in your photos on social media. Happy baking, friends — and remember, the best recipes are the ones you actually make.
Frequently Asked Questions
Can I use frozen bananas for this recipe?
Yes, absolutely. Thaw frozen bananas completely at room temperature or in the microwave. Drain off any excess liquid that pools during thawing — too much liquid can make the bread soggy. Mash them as directed. Frozen bananas are actually sweeter than fresh because the freezing process breaks down the starches into sugar.
Why did my banana bread sink in the middle?
A sunken center usually means the bread was underbaked. Banana bread is dense and takes time to cook through. Make sure your oven is at the correct temperature — an oven thermometer is a cheap investment that solves this problem. Also, check that your baking soda is fresh. Expired baking soda loses its leavening power and cannot support the structure of the loaf.
Can I make this recipe without walnuts?
Of course. Simply omit the walnuts entirely or replace them with an equal amount of chocolate chips, dried cranberries, chopped pecans, or shredded coconut. The bread will still be delicious — the walnuts add texture but are not essential to the structure of the recipe.
How do I know when the banana bread is done?
Insert a toothpick or skewer into the center of the loaf. It should come out clean or with a few moist crumbs attached — not wet batter. The top should be deep golden brown and cracked. For the most reliable test, use an instant-read thermometer. The internal temperature should read 200-205°F when the bread is fully baked.
Can I double this recipe?
Yes, this recipe doubles beautifully. Use a larger bowl and mix everything as directed. Bake in two separate loaf pans — do not try to bake it all in one pan, as the center will not cook through. The baking time remains the same for two loaves. You can also freeze one loaf for later.
Pin This Recipe!
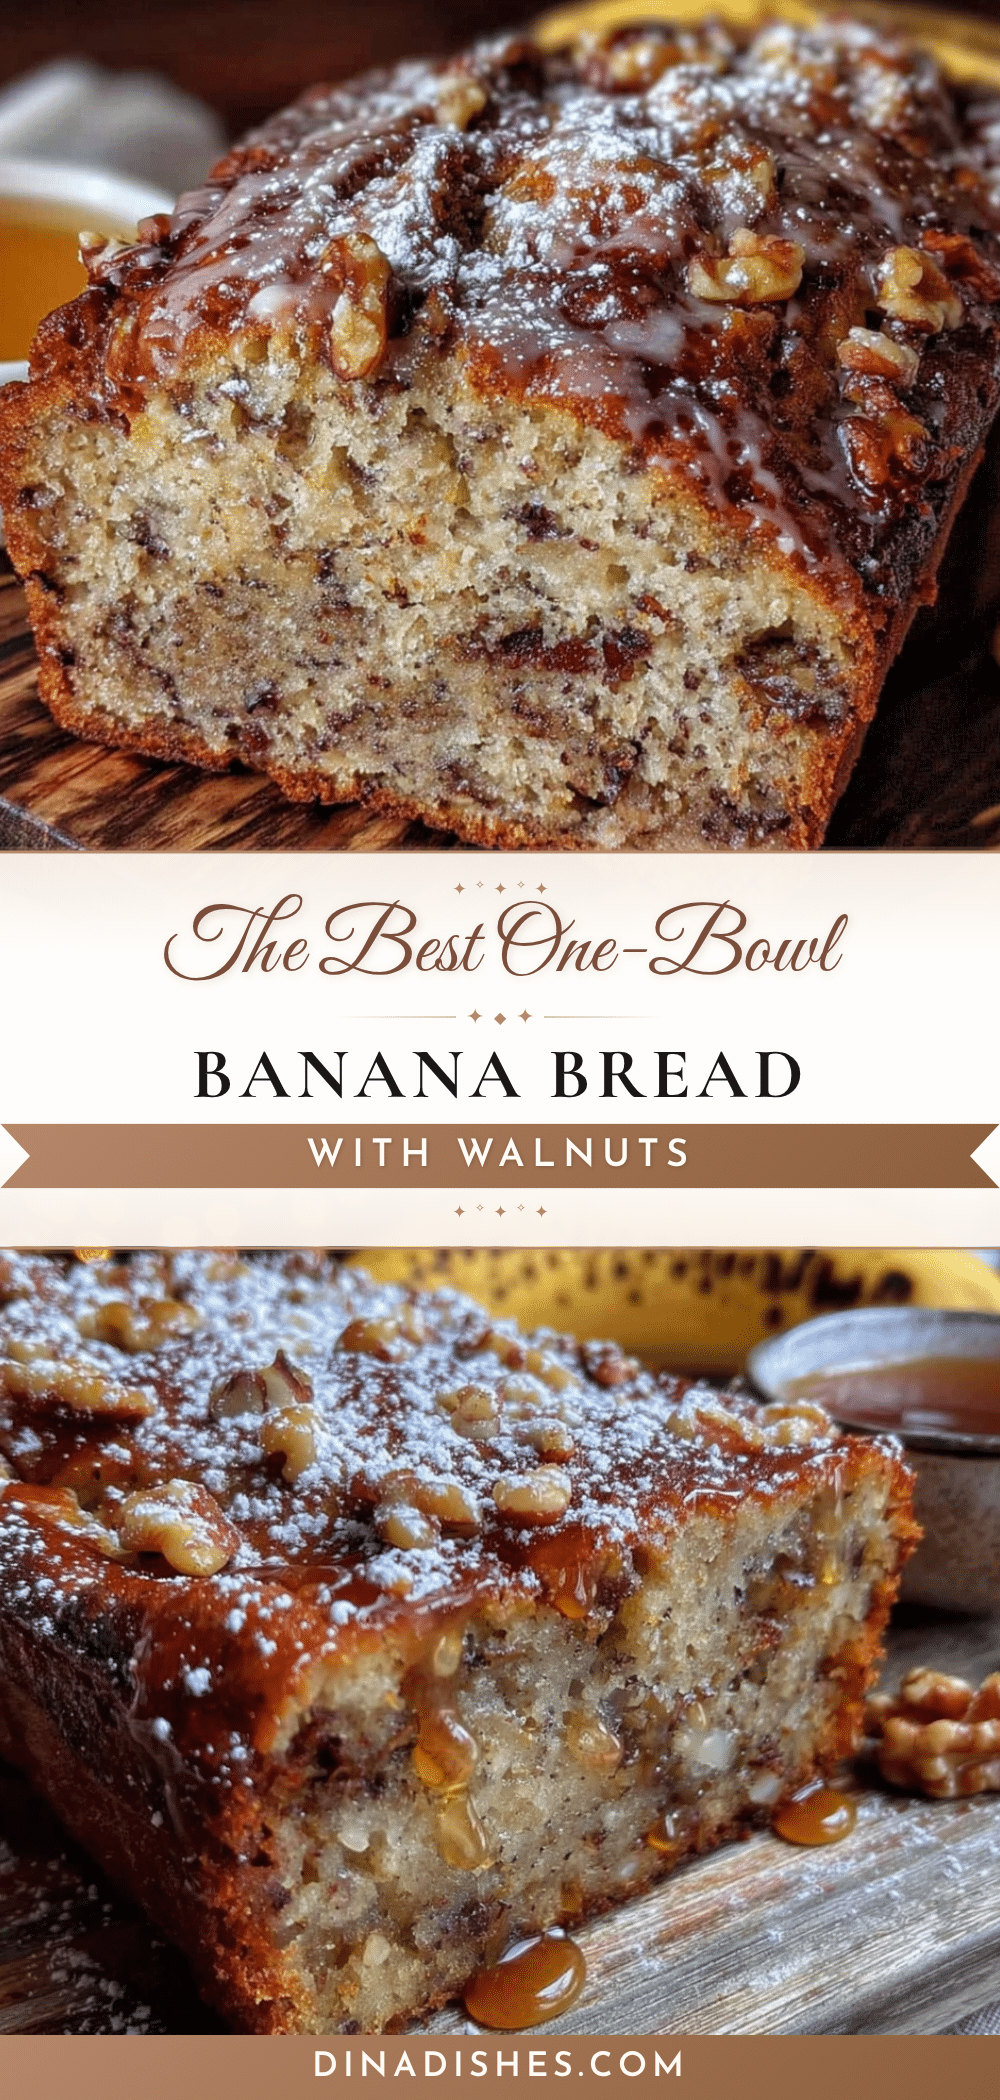
The Best One-Bowl Banana Bread with Walnuts
This one-bowl banana bread with walnuts is incredibly moist, tender, and packed with nutty flavor. It comes together in a single bowl with minimal cleanup, making it the perfect quick bread for any occasion.
- Prep Time: 15 minutes
- Cook Time: 55-65 minutes
- Total Time: 1 hour 20 minutes
- Yield: 10 servings 1x
- Category: Quick Bread
- Cuisine: American
Ingredients
- 3 medium very ripe bananas (about 1 ½ cups mashed)
- ½ cup (113g) unsalted butter, melted
- ¾ cup (150g) granulated sugar
- 1 large egg, at room temperature
- 1 teaspoon vanilla extract
- 1 ½ cups (190g) all-purpose flour, spooned and leveled
- 1 teaspoon baking soda
- ½ teaspoon fine sea salt
- 1 teaspoon ground cinnamon
- ¾ cup (85g) walnuts, chopped and toasted
Instructions
- Preheat oven to 350°F (175°C). Position rack in the center. Line a 9×5-inch loaf pan with parchment paper, leaving overhang on the two long sides. Lightly grease exposed ends with butter or nonstick spray.
- Mash the bananas directly in a large mixing bowl with a fork or potato masher until mostly smooth with a few small lumps remaining (about 1 ½ cups).
- Add melted butter and sugar to the bananas; stir until combined. The mixture will look slightly grainy.
- Mix in the egg and vanilla extract until fully incorporated and the batter is smooth and glossy. Scrape the bottom of the bowl.
- Sprinkle flour, baking soda, salt, and cinnamon over the wet mixture. Fold gently with a spatula using broad strokes from the bottom up until no streaks of flour remain. Do not overmix; a few small lumps are fine.
- Fold in the toasted walnuts with three or four turns of the spatula. Reserve a small handful for topping if desired.
- Scrape batter into the prepared loaf pan and spread evenly. Sprinkle reserved walnuts on top if using. Tap the pan gently on the counter twice to release air bubbles.
- Bake for 55-65 minutes, until the top is deep golden brown and a toothpick inserted into the center comes out clean or with a few moist crumbs. If top browns too quickly, tent loosely with foil after 40 minutes.
- Cool in the pan on a cooling rack for 15 minutes.
- Use parchment overhang to lift bread out of the pan. Transfer to cooling rack and cool completely before slicing, at least 1 hour.
Notes
Use overripe bananas with spotty brown peels for best sweetness and moisture. Measure flour correctly by spooning into the cup and leveling off. Do not overmix the batter once flour is added. Let the bread cool completely before slicing to avoid gummy texture. Toast walnuts for maximum flavor.
Nutrition
- Serving Size: 1 slice
- Calories: 285
- Sugar: 18
- Sodium: 210
- Fat: 14
- Saturated Fat: 6
- Carbohydrates: 36
- Fiber: 2
- Protein: 4
Keywords: banana bread, one-bowl banana bread, banana walnut bread, easy banana bread, moist banana bread