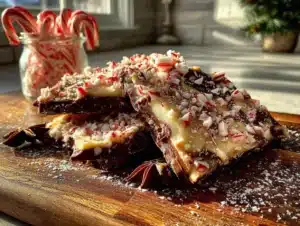
My roommate asked why I couldn’t just melt the chocolate in the microwave instead of fussing with a double boiler. I was mid-lecture—something about gentle heat and not seizing the chocolate—when I stopped. Honestly? I had no good answer. I started to explain why that wouldn’t work, then stopped. I had been so caught up in doing things the “right” way that I forgot the point was to make peppermint bark, not to prove a point. So I handed her the bag of chocolate chips and said, “Fine. You do it.” She zapped them in thirty-second bursts, stirred, and poured. It was perfect. Not a single lump. Not a hint of graininess. I stood there, spatula in hand, feeling both humbled and thrilled. That was the moment I realized that this cozy homemade peppermint bark with white and dark chocolate didn’t need to be complicated to be spectacular. It just needed to be made with a little trust and a lot of chocolate.
Maybe you have been there—staring at a recipe that feels more like a science experiment than something fun. I know I have. But this peppermint bark is different. It is the kind of treat that fills your kitchen with the smell of mint and cocoa, the kind that makes you want to curl up on the couch with a mug of tea and a piece in hand. It is forgiving, flexible, and honestly, it is hard to mess up. Even if you forget to temper the chocolate (which I have done, more than once), it still tastes amazing. The crunch of the candy cane against the smooth layers of white and dark chocolate is pure comfort. And the best part? You can make it in under thirty minutes, with no fancy equipment required. My roommate’s microwave method became my go-to, and I have never looked back. This recipe is proof that sometimes the best things happen when you let go of control and let someone else take the lead.
Why You’ll Love This Recipe
This isn’t just another peppermint bark recipe. It is the one I tested six times to get the ratio of dark to white chocolate exactly right. It is the one my friend, a pastry chef, nodded at approvingly after a bite. It is the one that has become my go-to for holiday cookie exchanges, teacher gifts, and lazy Sunday afternoons when I need a little sweetness. Here is why you will love it too:
- Quick & Easy: From start to finish, this recipe takes about 20 minutes of active time. The hardest part is waiting for the chocolate to set.
- Simple Ingredients: You need exactly four ingredients—dark chocolate, white chocolate, peppermint extract, and candy canes. That is it.
- Perfect for Gifting: This bark looks stunning in a cellophane bag tied with a ribbon. It makes everyone think you spent hours on it.
- Crowd-Pleaser: I have yet to meet someone who doesn’t love the combination of rich dark chocolate and creamy white chocolate with that cool minty crunch.
- Unbelievably Delicious: The texture is what gets me every time. The snap of the dark chocolate, the silkiness of the white, and the little pops of candy cane. It is next-level comfort food.
What makes this recipe different from all the others? It is the balance. So many peppermint barks are either too sweet or too minty. I spent a lot of time tweaking the amount of peppermint extract so that it complements the chocolate without overpowering it. And the technique? I use the microwave method my roommate taught me—no double boiler, no fuss. It works every single time. This is the kind of recipe that makes you close your eyes after the first bite. It is cozy, it is nostalgic, and it is exactly what you need on a cold winter evening.
What Ingredients You Will Need
This recipe uses simple, pantry-friendly ingredients to deliver bold flavor and satisfying texture without the fuss. Here is what you will need:
- Dark chocolate chips or bars, 12 ounces (about 2 cups). I prefer using a high-quality dark chocolate with 60-70% cocoa content. Ghirardelli or Lindt are my go-to brands. The bitterness of the dark chocolate balances the sweetness of the white chocolate perfectly.
- White chocolate chips or bars, 12 ounces (about 2 cups). Look for white chocolate that contains cocoa butter—it melts more smoothly. I recommend Ghirardelli white chocolate chips or Baker’s white chocolate bars. Avoid white “melting wafers” if you can; they don’t have the same creamy texture.
- Peppermint extract, 1/2 teaspoon for the dark chocolate layer and 1/4 teaspoon for the white chocolate layer. Use pure peppermint extract, not peppermint oil, which is much stronger. A little goes a long way here.
- Candy canes or peppermint candies, about 6-8 regular-sized candy canes, crushed. You want about 1/2 cup of crushed candy for topping. I like to use the classic red-and-white striped ones for that festive look.
- Optional: Coconut oil or shortening, 1 teaspoon per chocolate layer. This is not necessary, but it helps the chocolate melt more smoothly and gives the bark a nice shine. I use it when I am feeling fancy.
Ingredient Selection Tips: When choosing your chocolate, go for something you would actually enjoy eating on its own. The quality really matters here. For the candy canes, I have found that the classic Starlight mint candies crush more evenly than the curved candy canes, but either works. If you are using candy canes, unwrap them first (obviously) and place them in a sealed zip-top bag. Then go at them with a rolling pin or the bottom of a heavy skillet. It is oddly satisfying.
Substitution Guidance: If you need a dairy-free version, use dark chocolate that is labeled dairy-free (many are) and a dairy-free white chocolate alternative. I have used Enjoy Life brand white chocolate chips with good results. For a gluten-free option, this recipe is naturally gluten-free as long as your chocolate is certified gluten-free. Some chocolate brands process on shared equipment, so check the label if that is a concern.
Equipment Needed
You do not need much for this recipe, which is part of its charm. Here is what you will need:
- Baking sheet, standard half-sheet size (13×18 inches). Line it with parchment paper or a silicone baking mat. I prefer parchment because it is easy to lift the bark off once it is set.
- Microwave-safe bowls, two medium-sized ones. I use glass bowls because they heat evenly and are easy to clean.
- Spatula, preferably a small offset spatula for spreading the chocolate evenly. A regular rubber spatula works too.
- Rolling pin or heavy skillet, for crushing the candy canes. A food processor also works, but I find the manual method gives you more control over the texture. You want some bigger pieces for crunch and some fine dust for color.
- Zip-top bag, for containing the candy cane pieces while you crush them. This saves your countertop from getting covered in minty dust.
- Measuring spoons, for the peppermint extract.
Budget-Friendly Options: If you do not have a microwave, you can melt the chocolate using a double boiler. Just place a heatproof bowl over a pot of simmering water (make sure the bottom of the bowl does not touch the water) and stir until melted. It takes a few minutes longer but works perfectly. Also, you do not need a fancy offset spatula—the back of a spoon works just fine for spreading the chocolate.
Maintenance Tip: After making this bark, your bowls will have chocolate residue. Do not scrub them with soap right away. Instead, wipe them out with a paper towel first, then wash with warm soapy water. It prevents the chocolate from gumming up your sponge.
Preparation Method
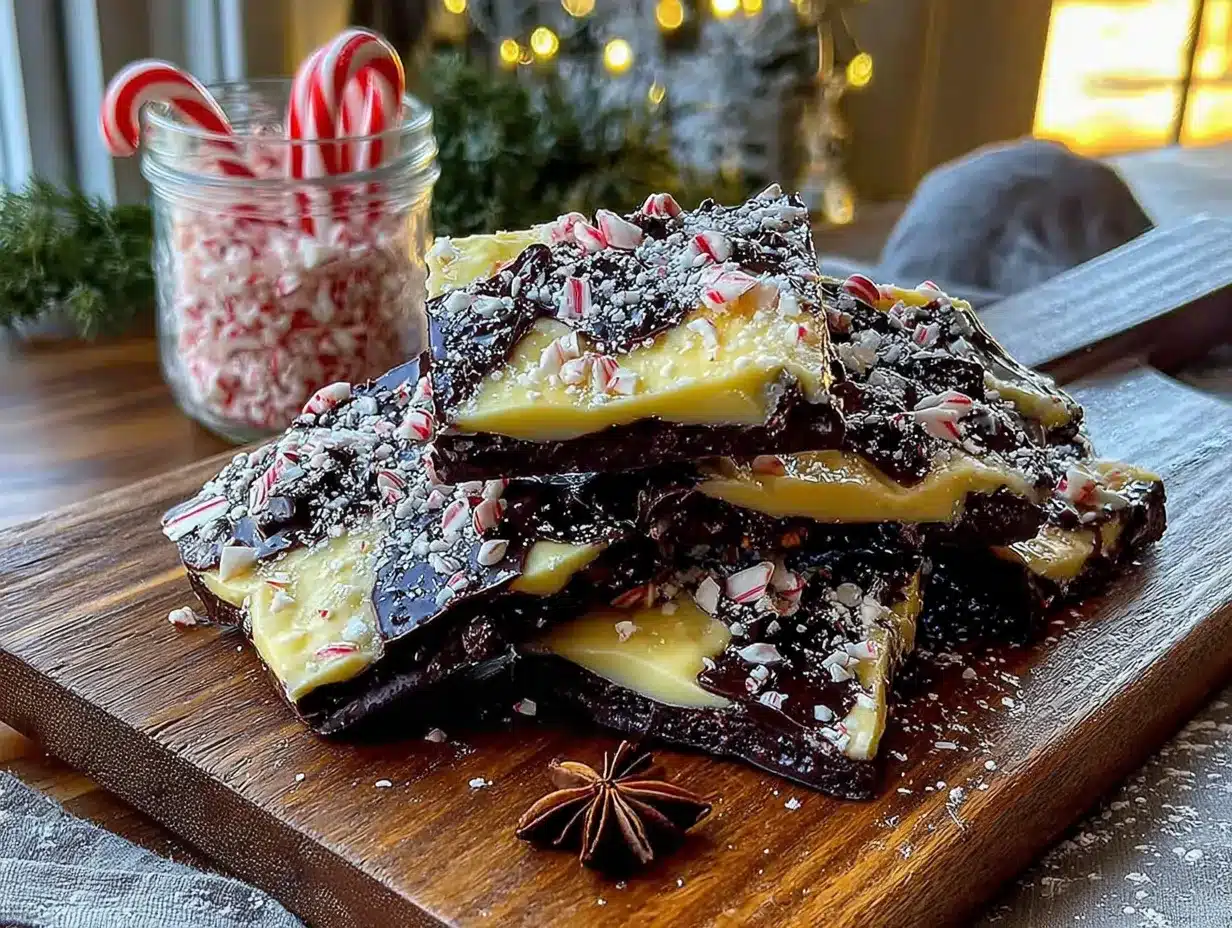
Let me walk you through this step by step. I promise it is easier than you think.
- Prepare your baking sheet. Line a standard half-sheet baking sheet with parchment paper. Make sure the parchment extends slightly over the edges—this will help you lift the bark out later. Set it aside.
- Crush the candy canes. Unwrap 6-8 candy canes and place them in a sturdy zip-top bag. Seal it, then use a rolling pin or the bottom of a heavy skillet to crush them. You want a mix of fine dust and small chunks. Aim for pieces about the size of peas. Set the bag aside. You will use about 1/2 cup for the topping, with a little extra for sprinkling on top if you like.
- Melt the dark chocolate. Place 12 ounces of dark chocolate chips in a microwave-safe bowl. Microwave in 30-second bursts, stirring well after each burst. It usually takes about 90 seconds total, but every microwave is different. Stop when the chocolate is mostly melted—stir until the residual heat melts the remaining lumps. If you are using the optional coconut oil, add it now and stir until smooth. Then stir in 1/2 teaspoon of peppermint extract.
- Spread the dark chocolate layer. Pour the melted dark chocolate onto the prepared baking sheet. Use your spatula to spread it into an even layer, about 1/4 inch thick. Do not stress about making it perfect—the white chocolate layer will cover any uneven spots. Place the baking sheet in the refrigerator for 10-15 minutes, or until the dark chocolate is firm to the touch but not rock hard.
- Melt the white chocolate. While the dark chocolate sets, place 12 ounces of white chocolate chips in a separate microwave-safe bowl. Microwave in 30-second bursts, stirring well after each. White chocolate is more delicate than dark, so be careful not to overheat it. Stop when it is just melted and smooth. Stir in 1/4 teaspoon of peppermint extract. If the white chocolate seems thick, you can stir in 1 teaspoon of coconut oil to thin it out.
- Add the white chocolate layer. Remove the baking sheet from the refrigerator. Pour the melted white chocolate over the set dark chocolate layer. Gently spread it into an even layer, being careful not to mix the two chocolates together. Work quickly—the cold dark chocolate will start to set the white chocolate immediately.
- Add the candy cane topping. Immediately sprinkle the crushed candy canes evenly over the white chocolate layer. Press them in gently with your fingers or the back of a spoon so they stick. Do this while the white chocolate is still wet, or the candy pieces will fall off later.
- Set the bark. Return the baking sheet to the refrigerator and let it set for at least 1 hour, or until the bark is completely firm. You can also let it set at room temperature for 2-3 hours if you prefer—the texture is slightly creamier that way.
- Break into pieces. Once the bark is fully set, lift it out of the baking sheet using the parchment paper. Place it on a cutting board. Use your hands to break it into irregular pieces, or use a sharp knife to cut clean squares. I prefer the rustic broken look—it feels more homemade.
Sensory Cues: When you spread the dark chocolate, it should look glossy and smooth. When you tap the pan after refrigeration, the dark chocolate should feel firm but not brittle. The white chocolate, when melted, should be thick and creamy, like warm frosting. When you break the finished bark, listen for a clean snap—that is how you know the chocolate is properly set.
Troubleshooting Tip: If your chocolate seizes (turns grainy and stiff), you probably got a drop of water in it. Unfortunately, there is no fixing seized chocolate. Start over with fresh chocolate, and make sure all your bowls and spatulas are completely dry.
Cooking Tips & Techniques
I have made this peppermint bark more times than I can count, and I have learned a few things the hard way. Here are my best tips:
Do not overheat the chocolate. This is the number one mistake I see. Chocolate burns easily, especially white chocolate. Low and slow is the way to go. If your microwave is powerful, reduce the bursts to 20 seconds. When in doubt, take it out early and stir. The residual heat will finish the job.
Let the dark chocolate layer set completely. I once got impatient and poured the white chocolate over a slightly soft dark layer. They swirled together into a muddy mess. It still tasted good, but it did not look pretty. Give the dark chocolate a full 15 minutes in the fridge, or until it feels firm to the touch.
Crush the candy canes unevenly. You want a mix of textures—some fine dust for color, some small chunks for crunch. If you crush them too uniformly, you lose that interesting mouthfeel. I like to leave a few larger pieces, about the size of a pea, for that satisfying crunch.
Work quickly with the white chocolate. Once you pour it over the cold dark chocolate, it starts to set fast. Spread it in one smooth motion. If it starts to firm up before you are done, pop the pan back in the microwave for 5-10 seconds to soften it.
Store it properly. Peppermint bark keeps well in an airtight container in the refrigerator for up to 2 weeks. But here is the thing—it actually tastes better after a day or two. The flavors meld together, and the mint gets a little more pronounced. So try not to eat it all immediately. I know, easier said than done.
My biggest failure: I once tried to make this bark on a humid summer day. The chocolate bloomed (developed white streaks) because of the moisture in the air. It was still edible, but it looked terrible. Now I only make this bark when the weather is cool and dry, or I run the air conditioning while the chocolate sets. Lesson learned.
Variations & Adaptations
This recipe is incredibly versatile. Here are some of my favorite twists:
- Dark Chocolate Only Version: Skip the white chocolate layer and make a single layer of dark chocolate topped with crushed candy canes. It is less sweet and lets the mint flavor shine. I make this version when I want something a little more sophisticated.
- Milk Chocolate Version: Swap the dark chocolate for milk chocolate for a sweeter, creamier bark. This is the version my kids prefer. Use the same amount—12 ounces—and follow the same melting instructions.
- Peppermint and Espresso Bark: Add 1 teaspoon of instant espresso powder to the dark chocolate layer before melting. The coffee flavor enhances the chocolate and pairs beautifully with the mint. It is my secret weapon for adult gatherings.
- Vegan Version: Use dairy-free dark chocolate and a vegan white chocolate alternative. I have used the brand “Milkless” for the white layer with great results. The texture is slightly different, but the taste is still amazing.
- Add Toppings: Before the white chocolate sets, sprinkle on some flaky sea salt, chopped toasted almonds, or dried cranberries. The salt especially does wonders for balancing the sweetness.
Seasonal Adaptation: In the summer, swap the peppermint extract for orange extract and top with crushed freeze-dried raspberries. It gives the same festive look but with a bright, fruity flavor. I call it my “Christmas in July” bark.
Serving & Storage Suggestions
This peppermint bark is best served at room temperature. Take it out of the refrigerator about 15 minutes before you plan to serve it. The chocolate softens slightly, and the flavors become more pronounced. Arrange the pieces on a pretty plate or in a festive tin for gifting.
What to serve with it: A cup of hot cocoa or a strong cup of coffee is the perfect companion. The bitterness of the coffee cuts through the sweetness of the bark. For a dessert board, pair it with fresh berries, shortbread cookies, and a glass of cold milk. It also makes a lovely addition to a holiday cookie platter.
Storage Instructions: Store the bark in an airtight container in the refrigerator for up to 2 weeks. Separate layers with parchment paper to prevent sticking. If you live in a humid climate, keep it in the fridge—the chocolate can bloom at room temperature if the air is moist.
Freezer Instructions: You can freeze peppermint bark for up to 3 months. Place the pieces in a single layer in a freezer-safe container, with parchment between layers. Thaw in the refrigerator overnight before serving. The texture remains excellent—I have done this many times for holiday prep.
How flavors develop: Honestly, this bark tastes even better after a day or two in the fridge. The mint infuses the chocolate, and the textures settle into a perfect harmony. So if you can resist eating it all on day one, you will be rewarded on day two.
Nutritional Information & Benefits
Let me be real with you—this is a treat, not a health food. But that does not mean it is without its merits. Here is the approximate nutritional breakdown per 1-ounce serving (about 2-3 pieces):
- Calories: 150-170
- Fat: 9-11 grams
- Carbohydrates: 18-20 grams
- Sugar: 15-17 grams
- Protein: 2-3 grams
Health Benefits: Dark chocolate (with 70% or higher cocoa content) is rich in antioxidants called flavonoids, which can support heart health and reduce inflammation. Peppermint has natural digestive benefits and can help soothe an upset stomach. So while this bark is definitely a indulgence, it is not completely devoid of redeeming qualities.
Dietary Considerations: This recipe is gluten-free as written, but check your chocolate labels to be sure. It is also vegetarian. For a vegan version, use dairy-free chocolate. The main allergens are dairy and soy (often in white chocolate).
My Personal Perspective: I believe in balance. I eat this bark during the holiday season because it brings me joy and reminds me of cozy nights by the fire. I do not stress about the sugar content because I savor it mindfully, one piece at a time. Food is about more than numbers—it is about connection, comfort, and celebration.
Conclusion
This cozy homemade peppermint bark with white and dark chocolate is more than just a recipe. It is a little piece of winter magic that you can make in your own kitchen. It is the gift you bring to a party that disappears in minutes. It is the treat you make on a Sunday afternoon while snow falls outside your window. It is forgiving, flexible, and absolutely delicious.
I hope you give it a try, and I hope you make it your own. Add a little extra peppermint extract if you like things minty. Use milk chocolate if that is your preference. Top it with sea salt or crushed almonds. The beauty of this recipe is that it works with whatever you have on hand.
I would love to hear how it turns out for you. Did you make any substitutions? Did you discover a new favorite variation? Drop a comment below and let me know. And if you share a photo on social media, tag me—I love seeing your creations. Until next time, happy cooking, and may your kitchen always smell like chocolate and mint.
Frequently Asked Questions
Can I use peppermint oil instead of peppermint extract?
You can, but be very careful. Peppermint oil is much more concentrated than extract. Start with just 1-2 drops and taste as you go. Too much will make your bark taste like toothpaste. I recommend sticking with extract for a milder, more balanced flavor.
Why did my white chocolate seize up?
White chocolate is sensitive to heat and moisture. If it seizes (turns grainy and stiff), it likely got too hot or came into contact with a drop of water. Always use completely dry bowls and utensils. If it does seize, unfortunately there is no saving it—you will need to start over with fresh chocolate.
Can I make this bark without a microwave?
Absolutely. Use a double boiler instead. Place a heatproof bowl over a pot of simmering water (make sure the bottom of the bowl does not touch the water). Stir the chocolate until melted, then proceed with the recipe. It takes a few minutes longer but works perfectly.
How do I get clean, even pieces instead of broken shards?
If you want neat squares, let the bark set completely, then use a sharp chef’s knife to cut it. Score the surface first with the knife, then press down firmly in one smooth motion. For the cleanest cuts, warm the knife under hot water, dry it, and cut while the blade is still warm.
Can I double this recipe?
Yes, but use two baking sheets instead of one. Pouring too much chocolate on a single sheet makes the layers too thick and the bark takes forever to set. Divide the ingredients between two pans for the best results.
Pin This Recipe!
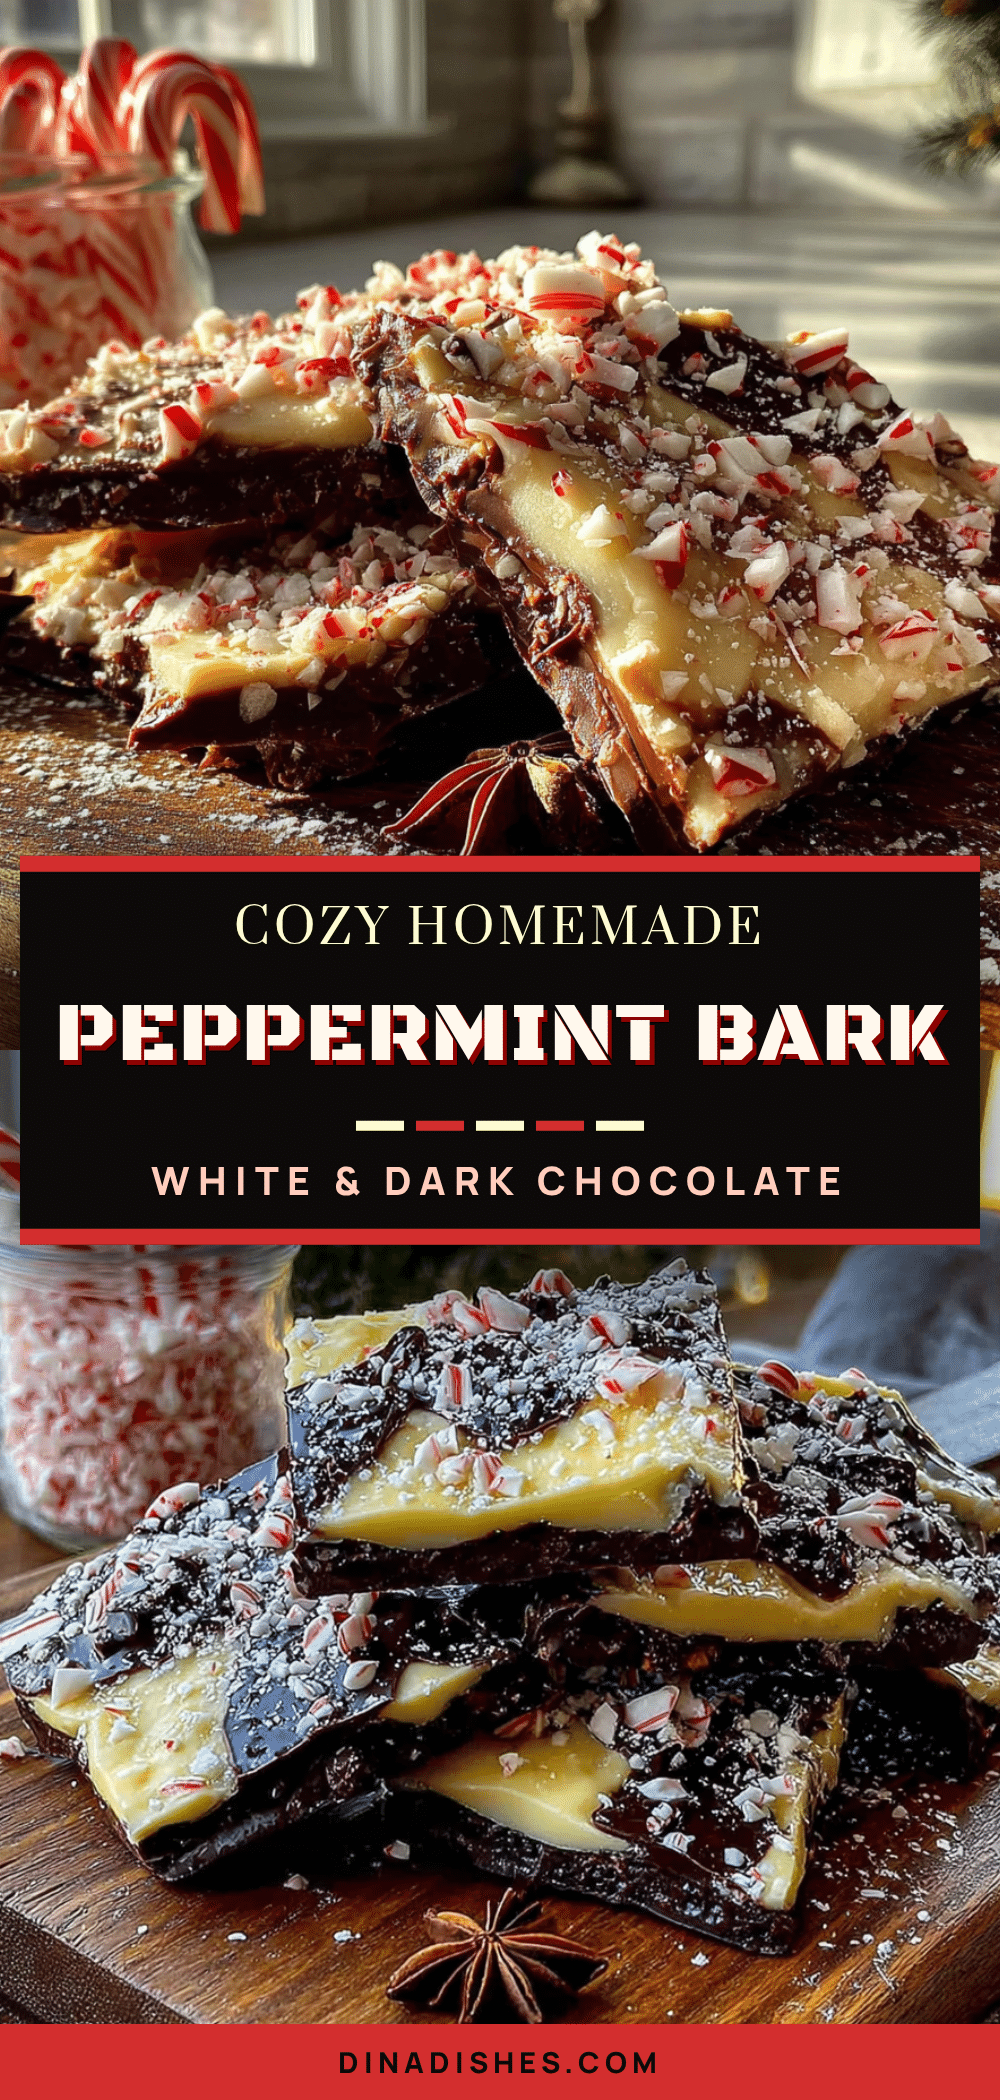
Best Homemade Peppermint Bark—Easy White & Dark Chocolate Recipe

This cozy homemade peppermint bark with white and dark chocolate is forgiving, flexible, and hard to mess up. Made with a simple microwave method, it features the perfect balance of rich dark chocolate, creamy white chocolate, and cool minty crunch from crushed candy canes.
- Prep Time: 20 minutes
- Cook Time: 5 minutes
- Total Time: 1 hour 25 minutes (including setting time)
- Yield: 24 servings 1x
- Category: Dessert
- Cuisine: American
Ingredients
- 12 ounces dark chocolate chips or bars (60-70% cocoa content)
- 12 ounces white chocolate chips or bars (containing cocoa butter)
- 1/2 teaspoon peppermint extract (for dark chocolate layer)
- 1/4 teaspoon peppermint extract (for white chocolate layer)
- 6–8 regular-sized candy canes or peppermint candies, crushed (about 1/2 cup)
- 1 teaspoon coconut oil or shortening per chocolate layer (optional)
Instructions
- Line a standard half-sheet baking sheet (13×18 inches) with parchment paper, extending slightly over the edges.
- Unwrap 6-8 candy canes, place in a sturdy zip-top bag, and crush with a rolling pin or heavy skillet into a mix of fine dust and small chunks (about pea-sized). Set aside.
- Place 12 ounces dark chocolate chips in a microwave-safe bowl. Microwave in 30-second bursts, stirring well after each, until mostly melted (about 90 seconds total). Stir until smooth. If using optional coconut oil, add 1 teaspoon and stir. Stir in 1/2 teaspoon peppermint extract.
- Pour melted dark chocolate onto prepared baking sheet. Spread into an even layer about 1/4 inch thick. Refrigerate for 10-15 minutes until firm to the touch but not rock hard.
- While dark chocolate sets, place 12 ounces white chocolate chips in a separate microwave-safe bowl. Microwave in 30-second bursts, stirring well after each, until just melted and smooth. Be careful not to overheat. Stir in 1/4 teaspoon peppermint extract. If thick, stir in 1 teaspoon coconut oil.
- Remove baking sheet from refrigerator. Pour melted white chocolate over set dark chocolate layer. Gently spread into an even layer, being careful not to mix the two chocolates. Work quickly as the cold dark chocolate will start to set the white chocolate.
- Immediately sprinkle crushed candy canes evenly over the white chocolate layer. Press in gently with fingers or back of a spoon so they stick.
- Return baking sheet to refrigerator and let set for at least 1 hour until completely firm. Alternatively, let set at room temperature for 2-3 hours for a slightly creamier texture.
- Once fully set, lift bark out using parchment paper. Place on cutting board. Break into irregular pieces with hands or cut into clean squares with a sharp knife.
Notes
Use high-quality chocolate for best results. Pure peppermint extract is recommended over peppermint oil. For dairy-free version, use dairy-free dark chocolate and vegan white chocolate alternative. Store in airtight container in refrigerator for up to 2 weeks. Can be frozen for up to 3 months. Bark tastes even better after 1-2 days as flavors meld. Avoid making on humid days to prevent chocolate blooming.
Nutrition
- Serving Size: 1 ounce (about 2-3 p
- Calories: 160
- Sugar: 16
- Sodium: 20
- Fat: 10
- Saturated Fat: 6
- Carbohydrates: 19
- Fiber: 1
- Protein: 2.5
Keywords: peppermint bark, homemade peppermint bark, easy peppermint bark, white chocolate peppermint bark, dark chocolate peppermint bark, holiday dessert, Christmas candy, no-bake dessert