“Why can’t you just put the butter under the skin?” my brother-in-law Mark asked me last Thanksgiving, watching me frantically try to rub softened herb butter over a raw chicken. I started to explain why that wouldn’t work — something about the butter melting off, the skin not crisping properly, all the things my culinary school brain knew to be true. Then I stopped. Honestly? I had no good reason other than “that’s not how you’re supposed to do it.”
So I let him try it with a small test chicken the following week. He shoved pats of herb butter under the breast skin, slathered the outside with more, and tossed the whole thing in a crockpot. I stood there thinking about how wrong this was going to be. Four hours later, I was eating my words — literally. That chicken was so tender the meat practically fell off the bone when I looked at it wrong. The butter had melted into every crevice, keeping the meat impossibly moist while the herbs infused every single bite.
I’ve made a lot of chicken in my day — roasted, braised, grilled, you name it. But this method? It broke everything I thought I knew about slow cooker poultry. The crockpot usually turns chicken into sad, stringy shreds, but this herb butter trick changes the game completely. The butter acts as a protective barrier, keeping the juices locked in while the low, steady heat works its magic. Mark’s been reminding me about it ever since, and honestly? I’m glad he does. Sometimes the best kitchen wisdom comes from the person who doesn’t know any better.
Why You’ll Love This Recipe
This Juiciest Herb Butter Crockpot Chicken has become my go-to for busy weeknights when I need dinner on the table without a meltdown. It’s the kind of recipe that makes you look like a hero with almost zero effort, and let me tell you — we all need those recipes in our back pocket.
- Set It and Forget It: Fifteen minutes of prep in the morning, and dinner’s ready when you are. No hovering, no stirring, no stress.
- Budget-Friendly: Whole chickens are one of the cheapest ways to feed a family. One bird can stretch into dinner tonight, sandwiches tomorrow, and soup the next day.
- Picky Eater Approved: My kids who “don’t like chicken” cleaned their plates. The herb butter makes it so flavorful that even the most skeptical eaters come back for seconds.
- Leftovers That Actually Reheat Well: This is huge for meal prep. The meat stays moist even after a few days in the fridge, which is basically a miracle in my book.
- Foolproof Method: You don’t need to be a seasoned cook to nail this. If you can mix butter with herbs and spread it on chicken, you’ve got this handled.
What makes this recipe different from every other crockpot chicken out there? It’s the technique. Most slow cooker chicken recipes end up dry and flavorless because the meat releases its juices into the pot and then sits in them, cooking itself into oblivion. By placing the herb butter under the skin, you’re creating a moisture seal that keeps those precious juices inside the meat where they belong. The result is chicken so tender and flavorful, you’ll wonder why you ever bothered with the oven.
This isn’t just dinner — it’s the kind of meal that makes everyone at the table go quiet for a minute. That first bite, when the herb butter hits your tongue and the chicken practically melts? That’s the moment you’ll remember. It’s comfort food that works for a Tuesday night or a Sunday dinner with company, and it never lets you down.
What Ingredients You Will Need
This recipe uses simple, everyday ingredients to create something truly special. You probably have most of these in your kitchen right now, which makes it even better for those nights when you need dinner sorted without a trip to the store.
For the Herb Butter
- ½ cup unsalted butter, softened — I use Kerrygold when I can find it on sale. The higher fat content makes a noticeable difference in richness. (Make sure it’s truly softened, not melted — you want it spreadable like paste.)
- 2 tablespoons fresh parsley, finely chopped — Flat-leaf parsley has more flavor than curly, but either works. In a pinch, use 2 teaspoons dried parsley.
- 1 tablespoon fresh rosemary, finely chopped — Strip the leaves from the woody stem first. Dried rosemary works too, but use half the amount since it’s more concentrated.
- 1 tablespoon fresh thyme leaves — Run your fingers down the stem backward to strip the leaves off quickly. Substitute 1 teaspoon dried thyme if needed.
- 4 cloves garlic, minced — Fresh garlic is non-negotiable here. The jarred stuff won’t give you the same punch. I use a microplane for the finest mince.
- 1 teaspoon salt — I prefer kosher salt for its clean flavor. If using table salt, reduce to ¾ teaspoon.
- ½ teaspoon black pepper, freshly ground — Pre-ground pepper works, but freshly ground has more aromatic punch.
- 1 teaspoon lemon zest — From about one lemon. This brightens everything up and cuts through the richness. Don’t skip it.
For the Chicken
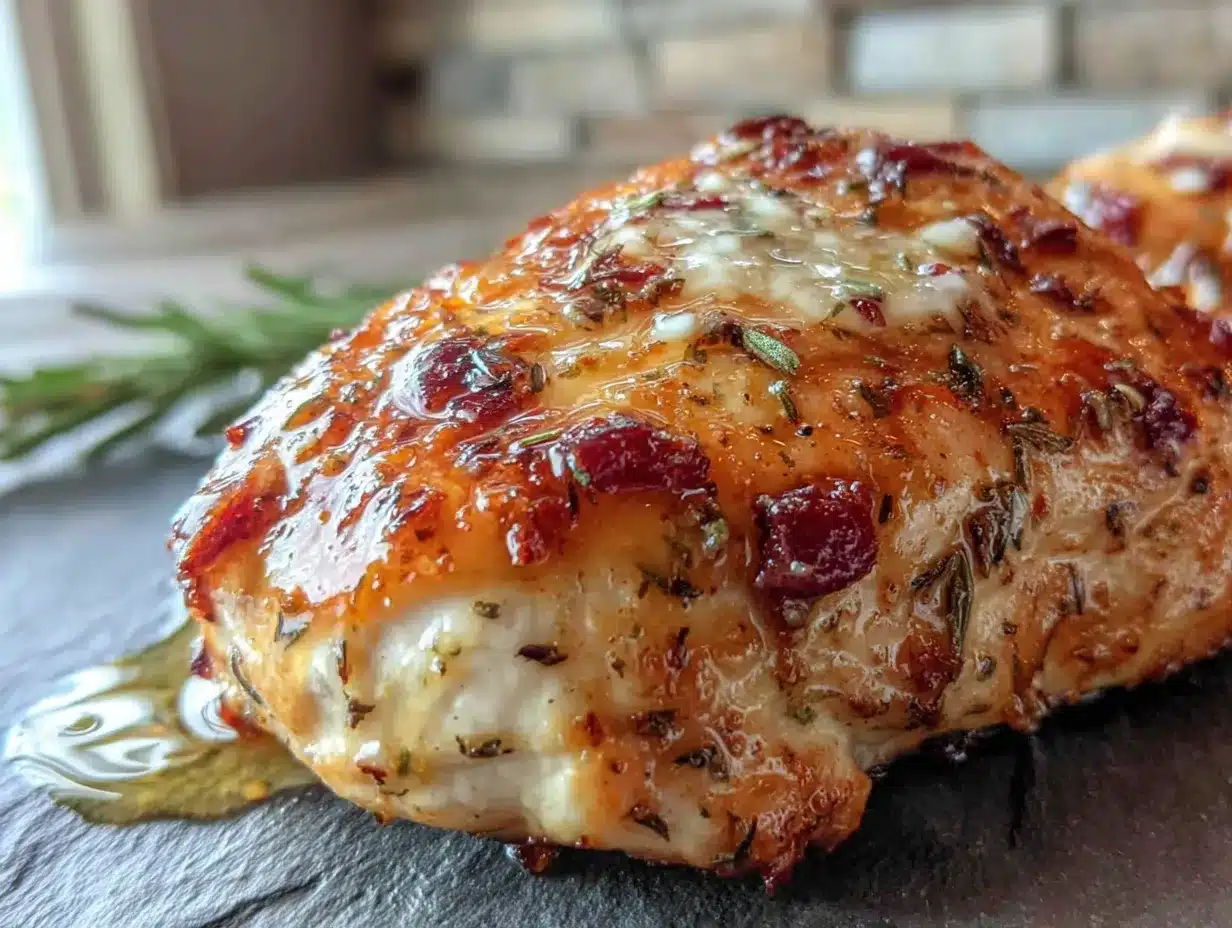
- 1 whole chicken (4-5 pounds) — Look for a bird that’s evenly sized so it cooks consistently. Air-chilled chickens tend to have better texture than water-chilled ones.
- 1 medium onion, quartered — Yellow or sweet onion works best. This isn’t for eating — it flavors the cooking liquid and keeps the chicken elevated.
- 3 celery stalks, cut into 3-inch pieces — Adds subtle flavor to the broth that forms in the bottom of the pot.
- 2 carrots, cut into 3-inch pieces — Same deal as the celery. They’ll be very soft after cooking, so I usually discard them unless I’m using them for stock.
- ½ cup chicken broth — Low-sodium is best so you can control the salt. Homemade broth takes this to another level, but store-bought works fine.
Optional Aromatics for the Cavity
- 2 sprigs fresh rosemary — Tuck these inside the cavity for extra herbaceousness.
- 3 sprigs fresh thyme — Same idea. The steam from cooking releases their oils into the meat.
- ½ lemon, quartered — Adds brightness from the inside out. Don’t use more than half or it can make the meat taste bitter.
Ingredient Selection Tip: When choosing your chicken, look for one that fits comfortably in your crockpot with the lid on. A 5-pound bird works perfectly in a 6-quart slow cooker. If your chicken is larger, you might need to truss it more tightly or cut it in half to fit.
Substitution Guidance: If you’re dairy-free, you can use a high-quality vegan butter stick (not margarine) — just make sure it’s the salted variety and adjust your added salt accordingly. For a lower-fat option, you can reduce the butter to ¼ cup, but the chicken won’t be quite as moist.
Equipment Needed
You don’t need a fancy kitchen to pull this off. Here’s what you’ll need:
- 6-quart or larger slow cooker — This is crucial. A smaller crockpot won’t fit a whole chicken properly, and you need that lid to close securely. I use a basic Crock-Pot brand model that cost me thirty bucks five years ago, and it still works perfectly.
- Small mixing bowl — For combining the herb butter ingredients.
- Sharp chef’s knife — A dull knife makes mincing herbs and cutting vegetables a chore. A decent 8-inch knife will serve you well.
- Cutting board — Preferably one with a groove to catch juices. I use a separate board for raw chicken to avoid cross-contamination.
- Kitchen shears — Not strictly necessary, but they make trimming any excess fat or skin a breeze.
- Meat thermometer — This is non-negotiable for food safety. An instant-read thermometer costs about ten dollars and takes the guesswork out of cooking chicken.
- Tongs — For lifting the hot chicken out of the crockpot without burning yourself.
- Aluminum foil — For tenting the chicken while it rests after cooking.
Budget-Friendly Tip: You don’t need an expensive slow cooker. The basic models work just as well as the fancy ones with digital timers and smartphone apps. I actually prefer the simple ones because there’s less that can break. Spend your money on a good meat thermometer instead — it’ll save you from overcooked chicken more than any fancy appliance will.
Preparation Method
Alright, let’s get cooking. This method is straightforward, but there are a few key steps that make all the difference. Follow these, and you’ll have the juiciest chicken of your life.
- Make the herb butter. In a small bowl, combine the softened butter, chopped parsley, rosemary, thyme, minced garlic, salt, pepper, and lemon zest. Mix everything together with a fork until it’s well combined and looks like a green-flecked paste. (Pro tip: If your butter isn’t soft enough to mix easily, microwave it for 5-second intervals until it’s pliable but not melted. Melted butter won’t stay under the skin.)
- Prep the chicken. Remove the chicken from its packaging and pat it completely dry with paper towels — inside and out. This is important because moisture on the surface will steam the skin instead of letting the butter penetrate. Remove any giblets or neck from the cavity (save those for stock if you’re ambitious). Let the chicken sit on a plate while you prepare the vegetables.
- Loosen the skin. Using your fingers, gently work your way under the skin of the chicken breast. Start at the cavity opening and slide your fingers between the skin and the meat, being careful not to tear the skin. Work your way up over the breasts and down toward the thighs. This creates pockets for the herb butter. (Don’t worry if you make a small tear — it happens to everyone. The butter will still do its job.)
- Apply the herb butter. Take about two-thirds of the herb butter and push it under the loosened skin, spreading it evenly over the breast meat and thighs. Massage it gently from the outside to distribute it. Rub the remaining butter all over the outside of the chicken, covering every surface. Don’t forget the legs and wings. (Here’s where Mark’s advice comes in — the butter under the skin is what keeps the breast meat from drying out. Trust the process.)
- Stuff the cavity. If you’re using the optional aromatics, stuff the rosemary sprigs, thyme sprigs, and lemon quarters into the chicken cavity. This adds flavor from the inside as the chicken steams. Don’t pack it too tightly — you want air to circulate.
- Layer the vegetables. Place the quartered onion, celery pieces, and carrot pieces in the bottom of your slow cooker. These create a natural rack that lifts the chicken off the bottom of the pot, preventing it from sitting in its own juices and getting soggy. Pour the chicken broth over the vegetables.
- Place the chicken. Set the chicken breast-side up on top of the vegetables. It should sit nicely without touching the lid. If the lid doesn’t close completely, you’ve got a chicken that’s too big for your pot.
- Cook low and slow. Cover the crockpot and cook on LOW for 6-7 hours, or on HIGH for 3-4 hours. Low and slow is better here — it gives the collagen time to break down, resulting in more tender meat. I always go for the low setting when I have the time.
- Check for doneness. This is where your meat thermometer earns its keep. The chicken is done when the internal temperature reaches 165°F (74°C) at the thickest part of the thigh, away from the bone. Also check the breast — it should be at least 165°F. If it’s not there yet, cook for another 30 minutes and check again.
- Rest before carving. Using tongs, carefully lift the chicken out of the crockpot and transfer it to a cutting board. Tent it loosely with aluminum foil and let it rest for 10-15 minutes. This is crucial — the juices need time to redistribute through the meat. If you cut into it too soon, all that beautiful moisture will run out onto the board instead of staying in the chicken.
- Carve and serve. Remove the vegetables from the crockpot (they’ve done their job, so you can discard them or save them for stock). Carve the chicken as you normally would — remove the legs and thighs first, then slice the breast meat against the grain. Spoon some of the cooking juices from the bottom of the pot over the carved meat for extra flavor.
Time-Saving Tip: You can make the herb butter up to three days in advance and keep it in the fridge. Just let it come to room temperature before using so it’s spreadable. This makes morning prep even faster — just take out the butter, prep the chicken, and you’re done in ten minutes flat.
Cooking Tips & Techniques
I’ve made this recipe more times than I can count, and I’ve learned a few things the hard way. Here are my best tips for getting it right every time.
Don’t skip drying the chicken. I know it seems like an extra step, but patting the chicken dry is what allows the herb butter to stick to the skin and penetrate the meat. Wet skin just slides the butter right off. I learned this after my first attempt resulted in butter pooling at the bottom of the crockpot instead of staying on the chicken. Lesson learned.
Use room temperature butter. Cold butter won’t spread evenly under the skin, and melted butter will just run off. Let your butter sit out for about 30 minutes before you start. If you forgot to take it out ahead of time, cut it into small cubes — they’ll soften faster.
Truss if you have time. Tying the legs together with kitchen twine helps the chicken cook more evenly and keeps the shape nice. It’s not essential, but if you want that picture-perfect presentation, it makes a difference. I usually skip it on busy weeknights and nobody complains.
Watch the cooking time. Every slow cooker runs a little differently. My old Crock-Pot runs hot, so my chicken is usually done at the 6-hour mark on low. My neighbor’s fancy model takes the full 7 hours. Get to know your appliance and adjust accordingly. The meat thermometer is your best friend here.
Don’t peek. Every time you lift that lid, you release heat and add 20-30 minutes to the cooking time. I know it’s tempting to check on it, but resist the urge. If you must check, do it in the last hour of cooking.
Skim the fat if desired. The cooking juices at the bottom of the pot will have a layer of fat on top. If you want a lighter sauce, let the juices settle for a few minutes, then skim off the fat with a spoon. Or just leave it — that’s where the flavor lives.
My biggest mistake: The first time I made this, I used cold butter straight from the fridge and tried to force it under the skin. It was a mess — chunks of butter everywhere, torn skin, and a chicken that looked like it had been in a fight. The butter never melted evenly, and parts of the chicken were dry while others were greasy. Room temperature butter is not a suggestion — it’s a requirement.
Variations & Adaptations
This recipe is incredibly versatile. Here are some ways to change it up depending on what you have on hand or who you’re feeding.
Lemon Garlic Herb Butter: Add an extra tablespoon of lemon zest and another two cloves of garlic to the herb butter. The citrus brightens everything up beautifully. I make this version in the spring when I want something lighter.
Spicy Southwest Version: Replace the rosemary and thyme with 1 teaspoon each of cumin, chili powder, and smoked paprika. Add a minced chipotle pepper in adobo sauce to the butter. This version is amazing shredded and used in tacos or burrito bowls.
Dairy-Free Adaptation: Use a high-quality vegan butter stick (I like Miyoko’s or Earth Balance) in place of the regular butter. The texture will be slightly different, but the flavor is still excellent. Just make sure your vegan butter is salted and adjust your added salt accordingly.
Herb Swap: Don’t have rosemary or thyme? Use what you’ve got. Oregano, marjoram, sage, or even dried Italian seasoning work well. The key is to use about 3 tablespoons total of fresh herbs or 1 tablespoon total of dried herbs. I once made this with only parsley and dried oregano because that’s all I had, and it was still delicious.
Different Cooking Methods: If you don’t have a slow cooker, you can roast this chicken in the oven at 375°F (190°C) for about 1 hour and 20 minutes, or until the internal temperature reaches 165°F. The herb butter works just as well in the oven — actually, you get crispier skin that way. For an Instant Pot, cook on high pressure for 25 minutes per pound, then natural release for 15 minutes.
My personal variation: I sometimes add a tablespoon of Dijon mustard to the herb butter. It doesn’t make the chicken taste mustardy — it just adds a subtle tanginess that enhances all the other flavors. My husband noticed the difference immediately and asked what I’d done differently. Little tweaks like that make the recipe feel new even when you’ve made it a dozen times.
Serving & Storage Suggestions
This chicken is a star on its own, but here’s how to make it a complete meal.
Serving Temperature: Serve the chicken hot, right after it’s rested. The meat should be steaming and the juices should run clear. I like to spoon a little of the cooking liquid over each serving for extra moisture and flavor.
What to Serve With It: Mashed potatoes are my go-to — they soak up the cooking juices beautifully. Roasted vegetables, a simple green salad, or crusty bread for dipping are all excellent choices. Rice or quinoa work well too, especially if you use the cooking liquid as a sauce. For a low-carb option, serve it over cauliflower rice or with a side of steamed broccoli.
Storage Instructions: Remove the meat from the bones and store it in an airtight container in the refrigerator for up to 4 days. Keep the cooking liquid separate in a jar or container — it makes an amazing base for soup or gravy. The meat actually gets more flavorful as it sits, so leftovers are a treat.
Freezing: Shredded chicken freezes beautifully for up to 3 months. Portion it into freezer-safe bags or containers, and squeeze out as much air as possible before sealing. Label with the date and what it is — frozen chicken all looks the same after a week. Thaw overnight in the refrigerator before using.
Reheating Methods: The best way to reheat this chicken without drying it out is in a covered skillet with a splash of chicken broth or water over medium-low heat. Microwave works in a pinch, but cover the plate with a damp paper towel to add moisture. For the oven, place the chicken in a baking dish with a little broth, cover with foil, and warm at 300°F (150°C) for about 15 minutes.
How Flavors Develop: Here’s something interesting — the chicken actually tastes better on day two. The herbs and garlic have more time to meld with the meat, and the texture stays tender. I often make this chicken specifically for meal prep because I know Tuesday’s lunch will be even better than Monday’s dinner.
Nutritional Information & Benefits
This herb butter chicken isn’t just delicious — it’s also a solid choice for nourishing your family. Here’s what you’re getting per serving (based on 6 servings, without the skin):
- Calories: Approximately 380-420 per serving
- Protein: 35-40 grams — excellent for muscle repair and keeping everyone full
- Fat: 24-28 grams — mostly from the butter and chicken skin
- Carbohydrates: 2-4 grams — minimal, from the vegetables used for cooking
- Sodium: 500-600 mg — can be reduced by using low-sodium broth and less salt
Health Benefits: Chicken is an excellent source of lean protein, B vitamins (especially B6 and B12), and selenium, which supports immune function. The garlic in the herb butter contains allicin, a compound known for its anti-inflammatory and immune-boosting properties. Fresh herbs like parsley, rosemary, and thyme are packed with antioxidants and can help reduce inflammation. The lemon zest adds a hit of vitamin C.
Dietary Considerations: This recipe is naturally gluten-free, low-carb, and keto-friendly. For a lower-fat option, remove the skin before eating — you’ll still get the herb flavor from the butter that penetrated the meat. If you’re watching your sodium, use unsalted butter, low-sodium broth, and go easy on the added salt.
Potential Allergens: This recipe contains dairy (butter). For a dairy-free version, see the variation section above. It’s free from eggs, soy, nuts, and gluten as written.
Conclusion
This Juiciest Herb Butter Crockpot Chicken has become a staple in my kitchen for good reason. It’s the recipe I turn to when I need a win — when the day’s been long, the kids are cranky, and I need dinner to just work. And it always does. The herb butter keeps the meat impossibly moist, the slow cooker does all the heavy lifting, and the result is a meal that makes everyone at the table happy.
What I love most about this recipe is how adaptable it is. You can switch up the herbs based on what you have, adjust the butter amount to suit your preferences, or serve it with whatever sides you’ve got in the fridge. It’s forgiving, it’s reliable, and it makes you look like you spent hours in the kitchen when you really just spent fifteen minutes and walked away.
I’d love to hear how this turns out for you. Did you try a different herb combination? Did your picky eater ask for seconds? Drop a comment below and let me know — I read every single one, and your feedback helps me create better recipes for all of us. And if you loved this recipe, share it with a friend who could use an easy dinner win. Happy cooking!
Frequently Asked Questions
Can I use chicken breasts instead of a whole chicken?
Yes, but the cooking time will be much shorter — about 2-3 hours on low for bone-in breasts, or 1.5-2 hours for boneless. The herb butter technique works beautifully on individual pieces too. Just spread the butter under the skin of bone-in breasts, or rub it all over boneless pieces. Check for doneness at 165°F.
Do I need to add liquid to the crockpot?
Yes, but just a small amount — about ½ cup of chicken broth is enough. The chicken releases its own juices as it cooks, so you don’t need much extra liquid. The broth at the bottom also creates steam that helps cook the chicken evenly and prevents the bottom from burning.
Can I cook this on high instead of low?
You can, but I don’t recommend it. Cooking on low for 6-7 hours gives the collagen time to break down, resulting in more tender meat. High heat for 3-4 hours works in a pinch, but the texture won’t be quite as good. If you’re short on time, high heat is better than no dinner — just keep an eye on the temperature.
How do I keep the chicken from drying out in the crockpot?
The herb butter under the skin is your secret weapon. It creates a barrier that locks in moisture as the chicken cooks. Also, make sure you’re not overcooking it — use a meat thermometer to check for 165°F, and don’t leave it in the crockpot on warm for more than an hour after it’s done. Resting the chicken before carving also helps retain juices.
What can I do with the leftover cooking liquid?
Don’t throw it away! That liquid is liquid gold. Strain it and use it as a base for soup, gravy, or rice. You can also freeze it in ice cube trays and pop out a cube whenever you need a flavor boost for sauces or vegetables. The fat can be skimmed off and saved for roasting potatoes — trust me, it’s amazing.
Pin This Recipe!
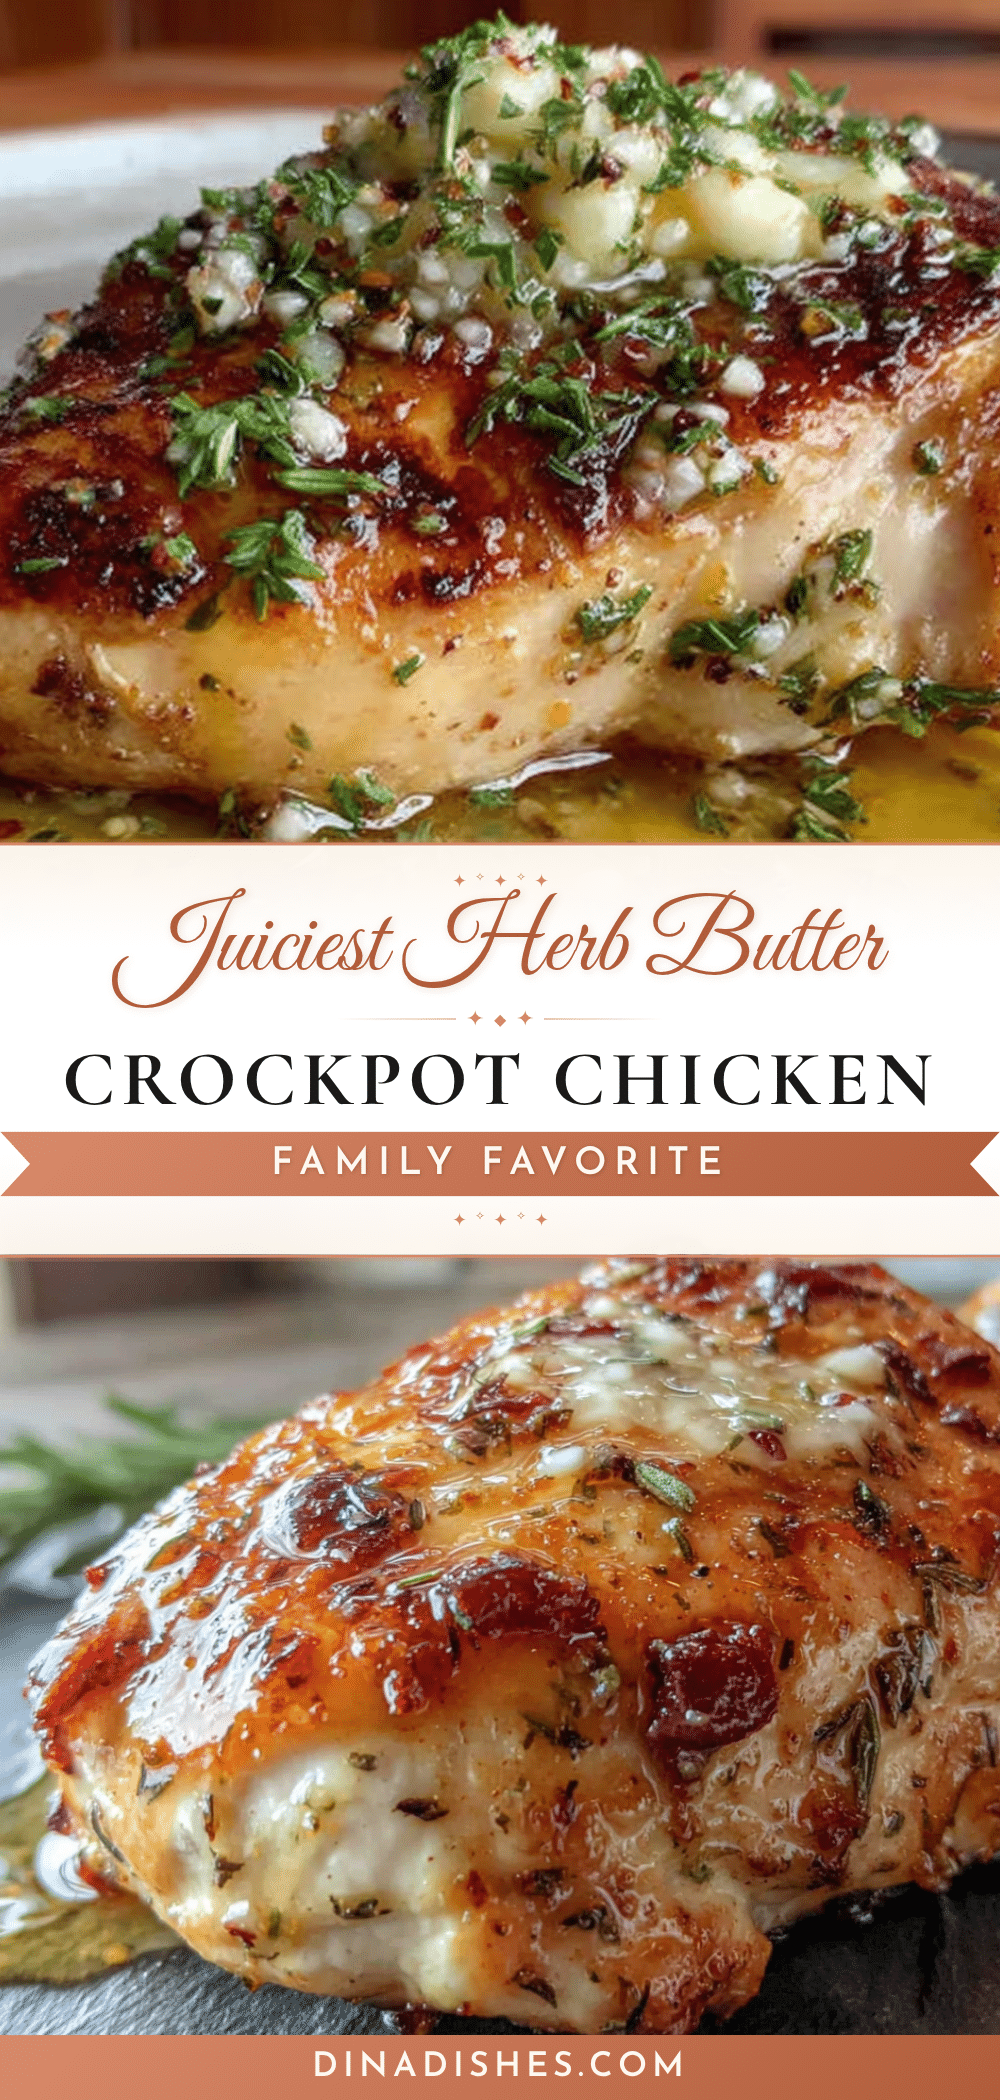
Best Juiciest Herb Butter Crockpot Chicken Recipe
This Juiciest Herb Butter Crockpot Chicken is a game-changing recipe that uses a simple technique—placing herb butter under the skin—to create impossibly moist, flavorful chicken with minimal effort. Perfect for busy weeknights, it’s a foolproof method that delivers tender, fall-off-the-bone meat every time.
- Prep Time: 15 minutes
- Cook Time: 6 hours 30 minutes
- Total Time: 6 hours 45 minutes
- Yield: 6 servings 1x
- Category: Main Course
- Cuisine: American
Ingredients
- ½ cup unsalted butter, softened
- 2 tablespoons fresh parsley, finely chopped
- 1 tablespoon fresh rosemary, finely chopped
- 1 tablespoon fresh thyme leaves
- 4 cloves garlic, minced
- 1 teaspoon salt
- ½ teaspoon black pepper, freshly ground
- 1 teaspoon lemon zest
- 1 whole chicken (4–5 pounds)
- 1 medium onion, quartered
- 3 celery stalks, cut into 3-inch pieces
- 2 carrots, cut into 3-inch pieces
- ½ cup chicken broth, low-sodium
- 2 sprigs fresh rosemary (optional)
- 3 sprigs fresh thyme (optional)
- ½ lemon, quartered (optional)
Instructions
- Make the herb butter: In a small bowl, combine the softened butter, chopped parsley, rosemary, thyme, minced garlic, salt, pepper, and lemon zest. Mix with a fork until well combined and forms a green-flecked paste.
- Prep the chicken: Remove the chicken from packaging and pat it completely dry with paper towels, inside and out. Remove any giblets or neck from the cavity. Let sit on a plate while preparing vegetables.
- Loosen the skin: Using your fingers, gently work under the skin of the chicken breast, starting at the cavity opening. Slide fingers between skin and meat, being careful not to tear the skin. Work up over the breasts and down toward the thighs to create pockets for the herb butter.
- Apply the herb butter: Take about two-thirds of the herb butter and push it under the loosened skin, spreading evenly over breast meat and thighs. Massage gently from the outside to distribute. Rub remaining butter all over the outside of the chicken, covering every surface including legs and wings.
- Stuff the cavity (optional): If using, stuff rosemary sprigs, thyme sprigs, and lemon quarters into the chicken cavity. Do not pack too tightly.
- Layer the vegetables: Place quartered onion, celery pieces, and carrot pieces in the bottom of the slow cooker. Pour chicken broth over the vegetables.
- Place the chicken: Set the chicken breast-side up on top of the vegetables. Ensure lid closes completely.
- Cook low and slow: Cover the crockpot and cook on LOW for 6-7 hours, or on HIGH for 3-4 hours. Low setting is preferred for more tender meat.
- Check for doneness: Use a meat thermometer to check that internal temperature reaches 165°F (74°C) at the thickest part of the thigh, away from the bone. Also check the breast.
- Rest before carving: Using tongs, carefully lift chicken out of crockpot and transfer to a cutting board. Tent loosely with aluminum foil and let rest for 10-15 minutes.
- Carve and serve: Remove vegetables from crockpot (discard or save for stock). Carve chicken as desired. Spoon some cooking juices from the bottom of the pot over the carved meat for extra flavor.
Notes
Make herb butter up to 3 days in advance and refrigerate. Bring to room temperature before using. For dairy-free, use high-quality vegan butter stick. For lower fat, reduce butter to ¼ cup. Do not skip drying the chicken or resting before carving. Every slow cooker runs differently; adjust cooking time accordingly. Do not lift lid during cooking as it releases heat.
Nutrition
- Serving Size: 1 serving (about 6 o
- Calories: 400
- Sugar: 1
- Sodium: 550
- Fat: 26
- Saturated Fat: 12
- Carbohydrates: 3
- Fiber: 1
- Protein: 38
Keywords: crockpot chicken, herb butter chicken, slow cooker chicken, juicy chicken, easy chicken recipe, whole chicken, comfort food, weeknight dinner


