My daughter asked why I couldn’t just skip the oven and mix everything in one bowl. I started to explain why that wouldn’t work—then stopped. Honestly, I had no good reason. I’d been making granola bars the same way for years, always turning on the oven, always lining pans with parchment, always waiting forever for them to cool. She just looked at me with that patient expression kids get when they know they’re right. So I tried it her way. One bowl, no oven, and a fridge that did all the work. Let me tell you, I felt a little silly when these no-bake granola bar bites came out perfect on the first try. They held together better than any baked version I’d ever made. The texture was chewy but not hard, and the chocolate chips stayed perfectly intact instead of melting into a puddle. Maybe you’ve been there—sticking to a method just because that’s how you’ve always done it. I keep a bag of these in the fridge now, and I think about that Tuesday afternoon every time I grab one. This recipe stayed with me because it reminded me that sometimes the simplest approach is the best one.
Why You’ll Love These No-Bake Granola Bar Bites
I’ve tested this recipe more times than I care to count, tweaking the ratio of wet to dry ingredients until every batch came out perfectly. These no-bake granola bar bites have become my go-to for busy weeks when I need something quick and satisfying.
- Ready in 20 Minutes : Mix, press, chill, and you’re done. No oven preheating, no waiting around.
- Simple Pantry Ingredients : Oats, peanut butter, honey, and chocolate chips—you probably have everything already.
- Perfect for Busy Weeknights : Great for after-school snacks, post-workout fuel, or a quick breakfast on the go.
- Kid-Approved and Adult-Friendly : My daughter eats three at a time, and I sneak them after dinner.
- Unbelievably Chewy : The texture is soft but holds together perfectly, thanks to the right balance of sticky ingredients.
What makes this recipe different is the technique—mixing the wet ingredients until they’re thick and glossy before adding the dry ones. It ensures every bite sticks together without crumbling. This isn’t just another granola bar recipe. It’s the kind that makes you close your eyes after the first bite because it tastes like something you’d buy at a fancy bakery, but you made it in your own kitchen in twenty minutes.
What Ingredients You Will Need
This recipe uses simple, wholesome ingredients to deliver bold flavor and satisfying texture without the fuss. Most of these are pantry staples you probably already have on hand.
- Rolled oats, 2 cups (use old-fashioned oats for the best texture—quick oats can make the bars too soft)
- Creamy peanut butter, ½ cup (I prefer natural peanut butter with no added sugar, but any kind works)
- Honey, ⅓ cup (adds sweetness and helps bind everything together)
- Mini chocolate chips, ½ cup (melt-in-your-mouth size distributes evenly)
- Unsalted butter, 2 tablespoons, melted (adds richness and helps the bars set firmly)
- Vanilla extract, 1 teaspoon (enhances the sweetness without extra sugar)
- Pinch of salt (balances the sweetness and brings out the oat flavor)
I recommend using old-fashioned rolled oats for this recipe—they give the bars a nice chewy texture that holds up well. Quick oats tend to get mushy and make the bars fall apart. For the peanut butter, I’ve tried both natural and processed kinds, and both work fine. Just make sure you stir natural peanut butter well before measuring, because the oil separation can throw off the ratio. If you’re allergic to peanuts, sunflower seed butter works beautifully as a substitute. The flavor changes slightly, but the texture stays just as good.
For the chocolate chips, mini chips are ideal because they spread evenly throughout the mixture. Regular chocolate chips work too, but you might get big pockets of chocolate instead of little bits in every bite. I’ve also used dark chocolate chips when I wanted a less sweet version, and they were fantastic.
Equipment Needed
You don’t need much for these no-bake granola bar bites, which is part of their charm. Here’s what you’ll need:
- Large mixing bowl (any size works, but bigger is easier for mixing without spilling)
- 8×8 inch baking dish (glass or metal both work—I use a glass dish because I can see the bottom)
- Parchment paper (essential for easy removal—don’t skip this)
- Spatula or wooden spoon (for mixing and pressing the mixture)
- Measuring cups and spoons
- Small microwave-safe bowl (for melting the butter and peanut butter together)
If you don’t have an 8×8 dish, a 9×9 dish works too—the bars will just be slightly thinner. I’ve even used a loaf pan when I wanted thicker bars, and they turned out great. Just adjust the pressing time to make sure the mixture is compact. A glass dish is my preference because I can see if the mixture is evenly distributed, but metal works perfectly fine too.
Preparation Method
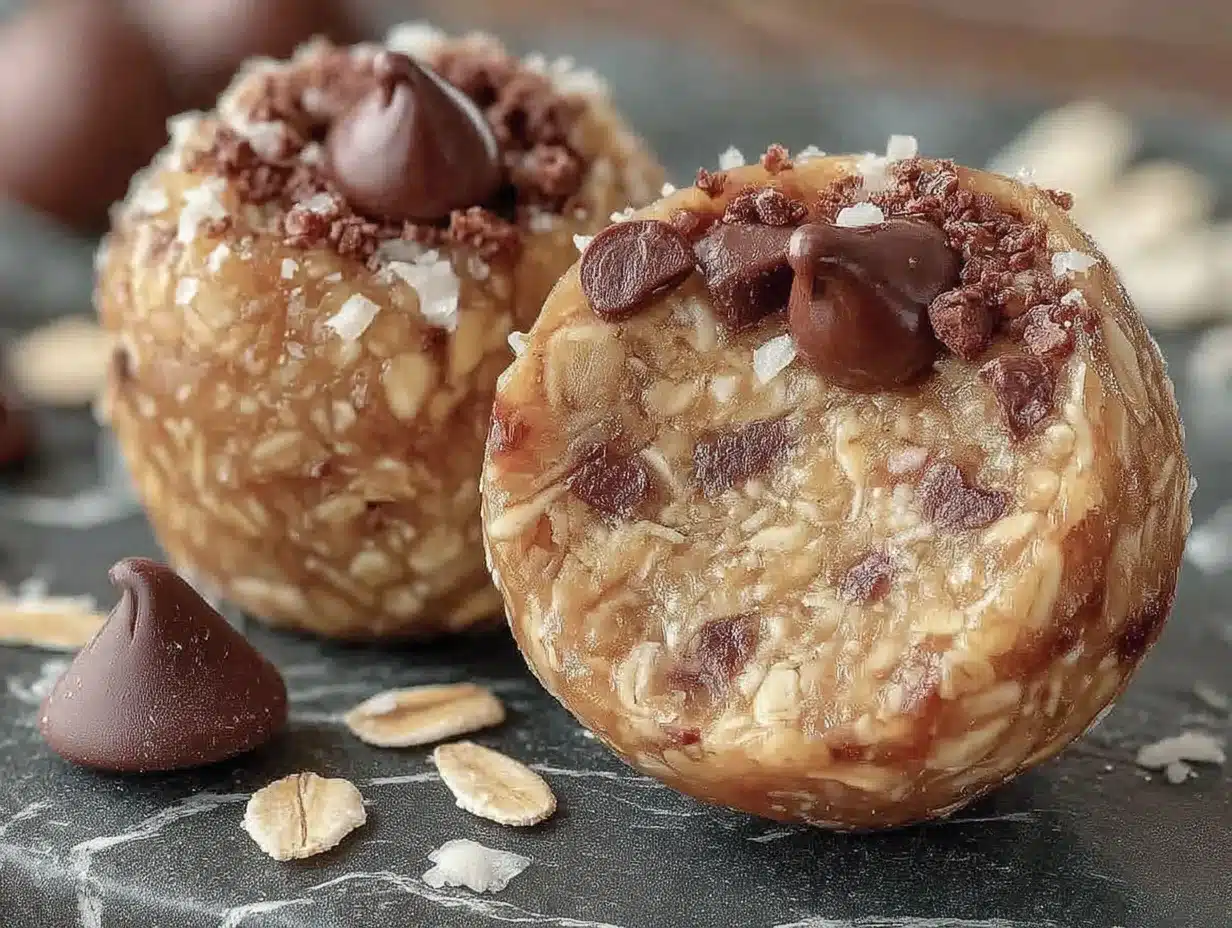
Follow these steps carefully, and you’ll have perfect no-bake granola bar bites every time. The key is pressing the mixture firmly into the dish—don’t be shy about it.
- Line your baking dish with parchment paper, leaving some overhang on two sides. This makes lifting the bars out super easy later. I always cut two strips and lay them crosswise—it creates little handles on all four sides.
- Melt the peanut butter and butter together in a small microwave-safe bowl. Microwave for 30 seconds, stir, then microwave for another 15 seconds until smooth. The mixture should be glossy and easy to stir. If it looks separated, keep stirring—it will come together.
- Stir in the honey and vanilla extract into the warm peanut butter mixture. Mix until everything is fully combined. The mixture will look thick and sticky—that’s exactly what you want.
- Add the rolled oats and salt to the wet mixture. Stir until every oat is coated. This takes about a minute of thorough mixing. Don’t rush this step—dry spots will make the bars crumbly.
- Fold in the mini chocolate chips gently. You want them distributed evenly without melting from the warmth of the mixture. If the mixture feels too warm, let it sit for 2 minutes before adding the chips.
- Transfer the mixture to your lined dish. Spread it out evenly with your spatula, then press down firmly. Use the back of a measuring cup or your hands to compact the mixture as tightly as possible. This is the most important step—loose bars fall apart.
- Refrigerate for at least 2 hours (overnight is better). The bars need time to set completely. I’ve made the mistake of cutting too early, and they crumbled everywhere. Patience pays off here.
- Lift the bars out using the parchment overhang. Place on a cutting board and slice into 12 even rectangles or 16 squares. A sharp knife works best—sawing back and forth can break the bars.
When you press the mixture into the dish, you should feel some resistance. The oats should be packed so tightly that they almost look compressed. If you can see gaps or loose oats, press harder. This step determines whether your bars hold together or fall apart in your hand.
Cooking Tips & Techniques
I learned most of these tips the hard way—through batches that crumbled, stuck, or just didn’t taste right. Here’s what I wish someone had told me.
Don’t overheat the peanut butter mixture. I once microwaved it for too long, and the honey started bubbling. The bars turned out greasy and didn’t set properly. Heat in short bursts and stir between each one. The mixture should be warm enough to combine easily but not hot enough to melt the chocolate chips later.
Use room temperature ingredients. Cold honey is thick and hard to mix. If your honey is crystallized or stiff, microwave it for 10 seconds before adding it to the peanut butter. Same goes for peanut butter—if it’s been in the fridge, let it sit out for 15 minutes first.
Press the mixture firmly and evenly. I can’t stress this enough. I’ve had batches where I pressed unevenly, and the thin parts crumbled while the thick parts were perfect. Use the bottom of a glass or a measuring cup to get even pressure across the whole dish.
Chill completely before cutting. Two hours is the minimum, but four hours is better. If you’re in a hurry, pop them in the freezer for 45 minutes instead. Just don’t leave them in too long, or they’ll get too hard to cut cleanly.
Store properly for best texture. Keep these no-bake granola bar bites in the refrigerator in an airtight container. They’ll stay fresh for up to two weeks. At room temperature, they get soft and can fall apart after a day or two.
Variations & Adaptations
One of the best things about this recipe is how easy it is to change up. I’ve tried several variations, and they’ve all been winners.
Nut-Free Version : Swap the peanut butter for sunflower seed butter or tahini. The flavor changes, but the texture stays the same. Just be aware that sunflower seed butter can turn green when combined with baking soda—since this recipe doesn’t use baking soda, you’re safe.
Vegan Option : Use maple syrup instead of honey, and coconut oil instead of butter. The bars will be slightly softer but still hold together well. I’ve made this version for friends with dietary restrictions, and no one could tell the difference.
Add-In Ideas : Try dried cranberries, chopped almonds, shredded coconut, or chia seeds. Just keep the total add-in amount to about ½ cup, or the bars won’t hold together. I love adding ¼ cup of unsweetened coconut flakes and ¼ cup of dried cherries for a tropical twist.
Chocolate Variations : Use white chocolate chips, butterscotch chips, or even chopped dark chocolate. I made a batch with white chocolate and dried blueberries that tasted like a fancy scone in bar form.
Lower Sugar Option : Reduce the honey to ¼ cup and add 2 tablespoons of unsweetened applesauce. The bars will be less sweet but still satisfying. My husband prefers this version because he doesn’t have a sweet tooth.
Serving & Storage Suggestions
These no-bake granola bar bites are incredibly versatile. Here’s how I like to serve and store them.
Serving Temperature : They’re best straight from the fridge—cold and firm. If you prefer softer bars, let them sit at room temperature for 5 minutes before eating. I like them cold because the chocolate chips stay snappy.
Pairing Ideas : Serve with a glass of cold milk, a cup of coffee, or a smoothie for a complete breakfast. They also make great lunchbox treats or post-workout snacks. My daughter loves them crumbled over yogurt for a quick parfait.
Storage Instructions : Keep in an airtight container in the refrigerator for up to 2 weeks. Layer them between sheets of parchment paper to prevent sticking. I’ve also frozen them for up to 3 months—just thaw in the fridge overnight before eating.
Reheating Tips : These don’t need reheating, but if you want a softer texture, microwave one bar for 10 seconds. Be careful not to overheat, or the chocolate chips will melt and make a mess.
Flavor Development : The flavors actually get better after a day or two in the fridge. The oats absorb the honey and peanut butter, making the bars even more cohesive and flavorful. I always make a batch on Sunday for the week ahead.
Nutritional Information & Benefits
These no-bake granola bar bites are packed with good-for-you ingredients. Here’s a rough breakdown per bar (based on 12 servings):
- Calories : Approximately 220
- Protein : 6 grams
- Fiber : 3 grams
- Sugar : 12 grams (mostly from honey)
- Healthy Fats : 10 grams from peanut butter and butter
Rolled oats are a great source of soluble fiber, which helps keep you full and supports heart health. Peanut butter provides protein and healthy monounsaturated fats. Honey offers natural sweetness with some antioxidants. These bars are also free from artificial preservatives and processed ingredients, making them a much better choice than store-bought granola bars.
If you’re watching your sugar intake, the lower sugar variation works well. For anyone with nut allergies, the sunflower seed butter version is a safe alternative. Just be aware that these bars contain gluten from the oats—if you need gluten-free, use certified gluten-free oats.
Conclusion
These no-bake granola bar bites have become a staple in my kitchen, and I think they’ll become one in yours too. They’re quick, simple, and endlessly adaptable—everything a busy weeknight recipe should be. Whether you make them exactly as written or experiment with your own add-ins, you’ll end up with a snack that’s better than anything you can buy at the store.
I’d love to hear how yours turn out. Did you try a fun variation? Did your kids help you make them? Drop a comment below and share your experience. And if you loved this recipe, save it to your Pinterest board so you can find it next time you need a quick snack. Happy snacking, friends!
Frequently Asked Questions
Can I use quick oats instead of rolled oats?
You can, but the texture will be softer and less chewy. Rolled oats give the bars a better structure that holds up well. If you only have quick oats, reduce the honey by 1 tablespoon to compensate for the softer texture.
How long do these no-bake granola bar bites last?
They stay fresh in the refrigerator for up to 2 weeks when stored in an airtight container. You can also freeze them for up to 3 months—just thaw in the fridge overnight before eating.
Can I make these without peanut butter?
Absolutely. Sunflower seed butter, almond butter, or cashew butter all work well. For a nut-free version, sunflower seed butter is your best bet. The flavor will change slightly, but the texture will be similar.
Why did my bars fall apart?
This usually happens for two reasons: not pressing the mixture firmly enough into the dish, or not chilling them long enough. Make sure you press down with serious pressure and refrigerate for at least 2 hours (overnight is better).
Can I use honey instead of maple syrup?
Yes, honey works great and gives a slightly different flavor. If you want a vegan version, use maple syrup instead. Both will bind the bars effectively, though honey creates a slightly firmer texture.
Pin This Recipe!
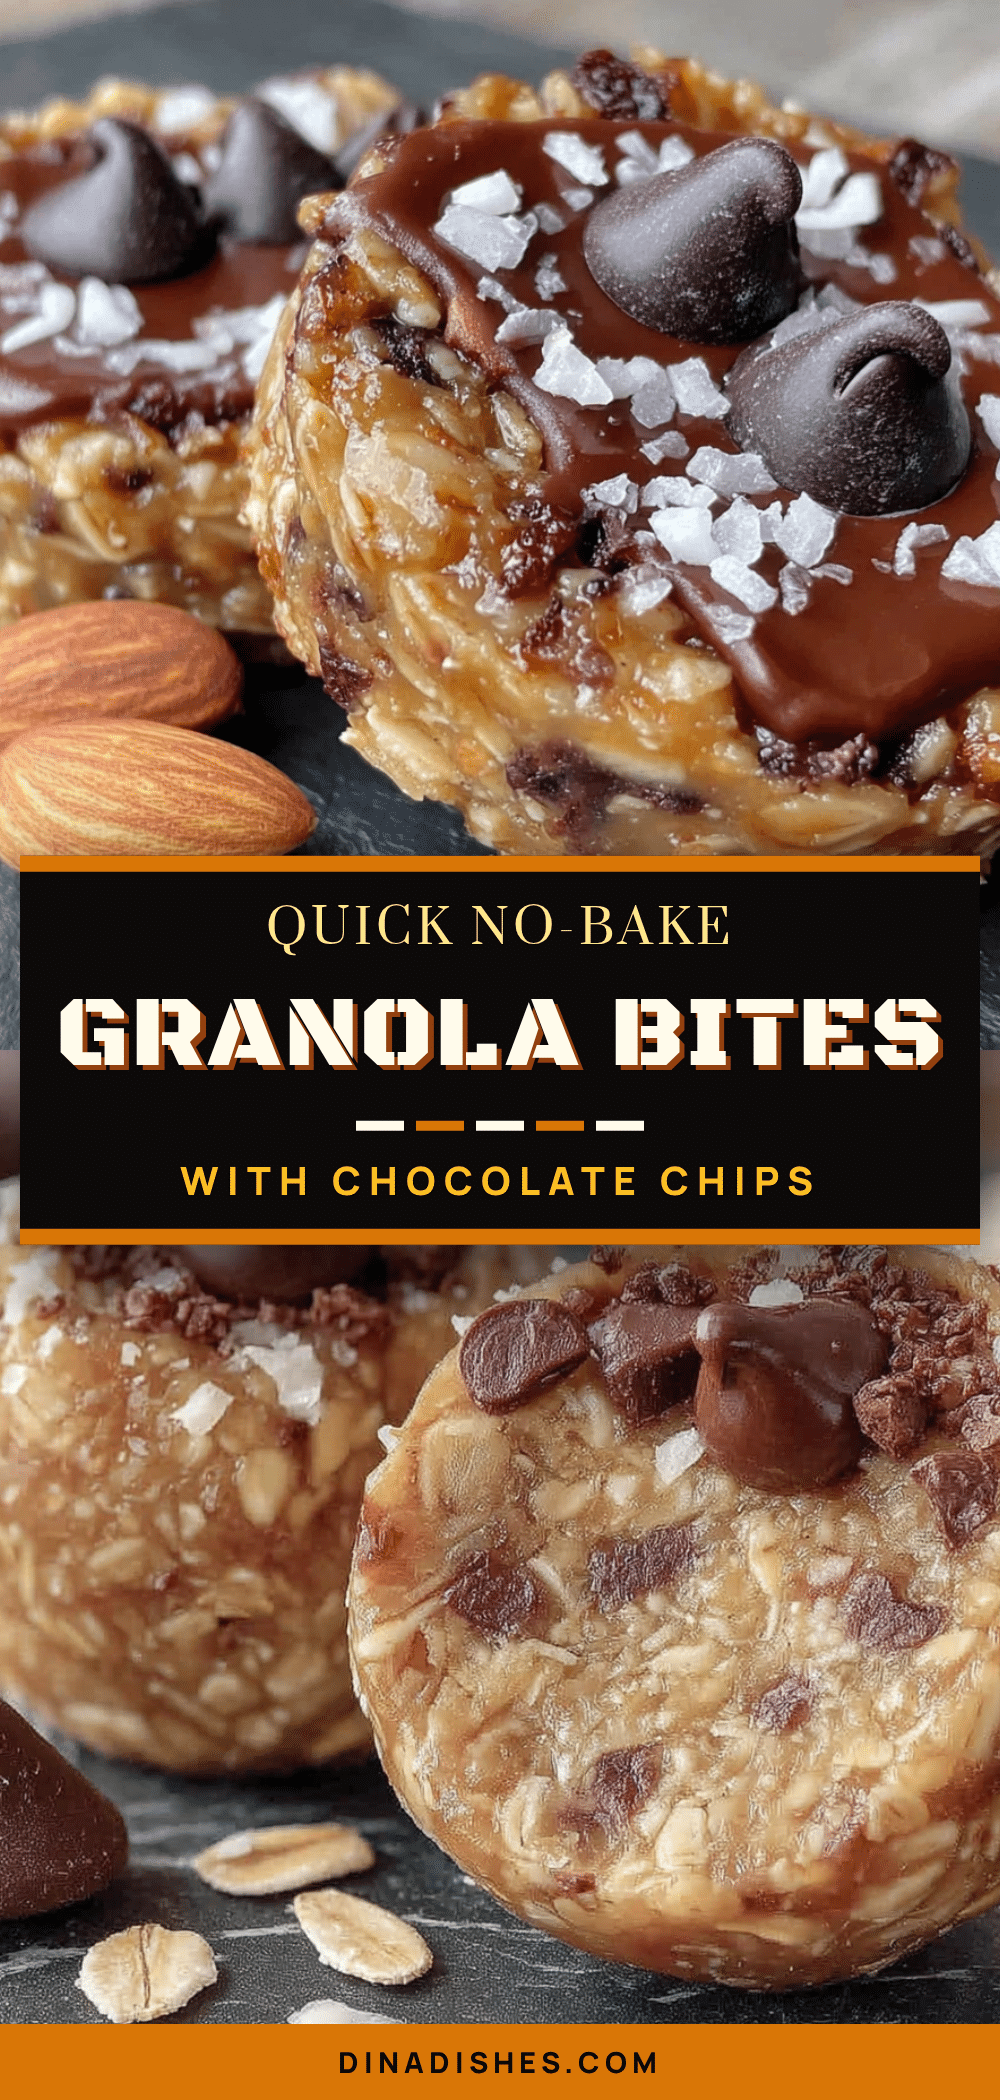
Best No-Bake Granola Bar Bites With Chocolate Chips
These no-bake granola bar bites are chewy, chocolatey, and ready in 20 minutes. Made with simple pantry ingredients like oats, peanut butter, honey, and chocolate chips, they’re perfect for busy weeknights, after-school snacks, or post-workout fuel.
- Prep Time: 15 minutes
- Cook Time: 0 minutes
- Total Time: 2 hours 15 minutes (includes chilling)
- Yield: 12 bars 1x
- Category: Snack
- Cuisine: American
Ingredients
- 2 cups rolled oats (old-fashioned)
- ½ cup creamy peanut butter
- ⅓ cup honey
- ½ cup mini chocolate chips
- 2 tablespoons unsalted butter, melted
- 1 teaspoon vanilla extract
- Pinch of salt
Instructions
- Line an 8×8 inch baking dish with parchment paper, leaving overhang on two sides.
- Melt the peanut butter and butter together in a small microwave-safe bowl. Microwave for 30 seconds, stir, then microwave for another 15 seconds until smooth.
- Stir in the honey and vanilla extract into the warm peanut butter mixture until fully combined.
- Add the rolled oats and salt to the wet mixture. Stir until every oat is coated, about 1 minute.
- Fold in the mini chocolate chips gently. If the mixture feels too warm, let it sit for 2 minutes before adding the chips.
- Transfer the mixture to the lined dish. Spread evenly with a spatula, then press down firmly using the back of a measuring cup or your hands.
- Refrigerate for at least 2 hours (overnight is better) until set.
- Lift the bars out using the parchment overhang. Place on a cutting board and slice into 12 even rectangles or 16 squares.
Notes
Press the mixture firmly into the dish to prevent crumbling. Chill completely before cutting. Store in an airtight container in the refrigerator for up to 2 weeks or freeze for up to 3 months. For a vegan version, use maple syrup instead of honey and coconut oil instead of butter. For a nut-free version, use sunflower seed butter.
Nutrition
- Serving Size: 1 bar
- Calories: 220
- Sugar: 12
- Sodium: 80
- Fat: 10
- Saturated Fat: 3
- Carbohydrates: 28
- Fiber: 3
- Protein: 6
Keywords: no-bake granola bars, granola bar bites, chocolate chip granola bars, easy snack, healthy snack, kid-friendly, no-bake recipe


