It was 11:17 PM on a random Wednesday, and I had one of those cookie cravings that just wouldn’t quit. You know the feeling—when your brain decides it needs something warm, sweet, and chewy, and nothing else will do. I’d spent the evening cleaning out my pantry (procrastinating, honestly), and there I was, surrounded by half-empty bags of flour and a single sad chocolate bar. The problem? I didn’t have a mixer. Mine had died three weeks ago, and I’d been putting off replacing it because, let’s be real, adulting is expensive.
So I stood there in my dim kitchen, spatula in hand, thinking maybe I’d just make one cookie. A test cookie. A midnight experiment. I grabbed a bowl, tossed in some butter I’d softened in the microwave (don’t judge—it was late), and started stirring. No mixer. Just me, a wooden spoon, and this weird determination to prove I didn’t need fancy equipment to satisfy a craving.
The dough came together in about five minutes—sticky, fragrant, and full of chocolate chunks I’d hacked from that lonely chocolate bar with a knife that was definitely not meant for chopping chocolate. I scooped one sad-looking ball onto a baking sheet, slid it in the oven, and waited. When that cookie came out, golden on the edges and soft in the center, I almost cried. It was perfect. Chewy, buttery, with those little crispy edges that make you close your eyes after the first bite. I made three more that night and ate them standing over the counter in my pajamas.
That’s how this recipe was born—not in a test kitchen or a food blog studio, but in a messy kitchen at midnight with a broken mixer and a stubborn craving. Maybe you’ve been there, standing in your kitchen at an unreasonable hour, wondering if it’s worth the effort. It is. Trust me, it really is.
Why You’ll Love This Recipe
Let me tell you why this recipe has become my go-to, even after I finally replaced that mixer. These cookies aren’t just good—they’re the kind that makes you text your friends a photo with the caption “I made cookies at midnight and no regrets.”
- No Mixer Required: You don’t need a stand mixer, hand mixer, or any fancy equipment. Just a bowl, a spoon, and ten minutes of your time. Perfect for dorm rooms, small apartments, or late-night baking emergencies.
- Small Batch, Big Flavor: This recipe makes just 6-8 cookies, so you’re not stuck with a week’s worth of temptation. Fresh cookies without the commitment—that’s what I call a win-win.
- Simple Pantry Ingredients: Butter, sugar, flour, an egg, chocolate chips—you probably have everything already. No trips to the store for specialty flours or obscure extracts.
- Perfectly Chewy Texture: The secret is in the technique (more on that later), but these cookies stay soft and chewy for days. The edges get that slight crisp while the centers stay tender and almost gooey.
- Ready in Under 30 Minutes: From craving to cookie in about 25 minutes. That’s faster than delivery, and way more satisfying.
What makes this recipe different from every other chocolate chip cookie recipe out there? It’s the method. By melting the butter instead of creaming it, and letting the dough rest for just 15 minutes, you get that chewy texture without any complicated steps. It’s not just another version—it’s the version I’ve tested at midnight, at 6 AM, and for holiday parties. It always delivers.
This is comfort food at its finest. The kind of cookie that makes you forget about your long day, your broken mixer, or whatever else is stressing you out. One bite, and everything feels a little bit better.
What Ingredients You Will Need
This recipe uses simple, everyday ingredients to create something truly special. No fancy stuff here—just pantry staples that come together in the most delicious way.
- Unsalted butter, melted – 5 tablespoons (70g). Melting the butter is key for that chewy texture. I use salted butter sometimes and just skip the extra salt, but unsalted gives you more control.
- Granulated sugar – ¼ cup (50g). Adds sweetness and helps create those crispy edges.
- Light brown sugar, packed – ¼ cup (50g). This is where the chewiness comes from. The molasses in brown sugar keeps cookies soft and tender. Don’t skip it!
- Large egg yolk – 1 yolk. Just the yolk, not the whole egg. This gives you richness without extra moisture that would make the cookies cakey. Save the white for scrambled eggs tomorrow.
- Vanilla extract – 1 teaspoon. Pure vanilla makes a difference here. I’ve used imitation in a pinch, and honestly, it’s fine, but pure vanilla gives that warm, complex flavor.
- All-purpose flour – ¾ cup (95g). Spoon and level your flour—don’t scoop straight from the bag or you’ll end up with dry cookies.
- Baking soda – ¼ teaspoon. Helps the cookies spread just enough.
- Salt – ¼ teaspoon. Balances the sweetness and makes the chocolate flavor pop.
- Semi-sweet chocolate chips – ½ cup (90g). I’m partial to Ghirardelli or Guittard, but any brand works. You can also chop up a chocolate bar for those melty pools of chocolate.
One thing I’ve learned from making these cookies dozens of times—use room temperature ingredients if you can. The melted butter helps, but letting your egg yolk sit out for 10 minutes makes everything come together more smoothly. And if you’re out of brown sugar? Mix ¼ cup white sugar with 1 tablespoon molasses. Works like a charm.
Equipment Needed
Here’s the beauty of this recipe—you probably already have everything you need. No special gadgets required.
- Mixing bowl – Any medium-sized bowl works. I use a ceramic one because it feels nice, but glass or metal is fine.
- Wooden spoon or silicone spatula – For mixing the dough. A whisk works too, but you’ll want something sturdy for the final stir.
- Measuring cups and spoons – Accurate measurements matter in baking. I love my set of stainless steel ones—they’ve lasted years.
- Baking sheet – A standard half-sheet pan works perfectly. No need for anything fancy.
- Parchment paper or silicone baking mat – Keeps cookies from sticking and makes cleanup a breeze. I’ve baked directly on greased pans, and it works, but parchment is easier.
- Cookie scoop or tablespoon – For evenly sized cookies. A #40 scoop (about 1.5 tablespoons) is my go-to.
- Cooling rack – Optional but helpful. Lets cookies cool evenly and keeps them from getting soggy on the bottom.
I’ve made these cookies with a fork instead of a whisk and a pie tin instead of a baking sheet. They still turned out great. Don’t let missing equipment stop you—improvise!
Preparation Method
Alright, let’s make some cookies. This method is straightforward, but I’ll walk you through every step with the little tricks I’ve picked up along the way.
- Preheat your oven to 350°F (175°C). Line a baking sheet with parchment paper. I like to do this first so the oven is ready when I am.
- Melt the butter in a microwave-safe bowl for about 30-40 seconds, or in a small saucepan over low heat. You want it fully melted but not hot—just warm to the touch. Let it cool for 2 minutes while you get everything else ready.
- In a medium mixing bowl, combine the melted butter, granulated sugar, and brown sugar. Stir with your wooden spoon until it looks like wet sand—about 30 seconds. Don’t overmix here; you just want everything combined.
- Add the egg yolk and vanilla extract to the butter-sugar mixture. Stir vigorously for about 1 minute. The mixture should look lighter in color and slightly thicker. This step is important—it helps create that chewy texture by incorporating a little air.
- In a separate small bowl, whisk together the flour, baking soda, and salt. I know, an extra bowl to wash—but mixing the dry ingredients separately ensures the baking soda is evenly distributed. No one wants a pocket of baking soda in their cookie.
- Add the dry ingredients to the wet ingredients in two additions, stirring gently after each. Mix just until you no longer see streaks of flour. Overmixing at this stage can make your cookies tough. A few lumps are fine—they’ll work themselves out.
- Fold in the chocolate chips with your spatula. Reserve a handful to press into the tops of the dough balls later—this makes the cookies look bakery-style.
- Cover the bowl with plastic wrap and refrigerate for 15 minutes. I know, waiting is hard, but this rest period lets the flour absorb the moisture and the butter firm up slightly. The result? Thicker, chewier cookies that don’t spread into flat puddles.
- Scoop the dough into 6-8 equal portions, about 1.5 tablespoons each. Roll them into balls and place them 2 inches apart on the prepared baking sheet. Press a few reserved chocolate chips into the tops of each dough ball.
- Bake for 9-11 minutes at 350°F. The cookies should look golden around the edges but still soft and slightly underdone in the center. They’ll continue baking on the hot pan after you pull them out. I usually bake for 10 minutes exactly—that’s my sweet spot.
- Let the cookies cool on the baking sheet for 5 minutes. This is crucial—moving them too early will cause them to fall apart. After 5 minutes, transfer to a cooling rack to cool completely (or eat one warm, because you deserve it).
A few things I’ve learned the hard way: if your cookies spread too much, your butter was too warm or you skipped the chill step. If they’re too cakey, you might have used the whole egg instead of just the yolk. And if they disappear too quickly? That just means they’re really, really good.
Cooking Tips & Techniques
After making these cookies more times than I can count, I’ve picked up a few tricks that make a real difference. Let me share them with you.
Melting butter the right way: Melted butter is the secret to chewy cookies, but you don’t want it hot. If your melted butter is steaming, let it cool for a few minutes before adding the sugar. Hot butter can cook the egg yolk and change the texture completely.
The 15-minute chill is non-negotiable: I know it’s tempting to skip this step, especially when you’re craving cookies at 11 PM. But that short rest in the fridge does three things: it firms up the butter so cookies don’t spread too much, it allows the flour to hydrate for a better texture, and it deepens the flavor. I’ve made these cookies without chilling, and they spread into thin, crispy disks. Still tasty, but not what we’re going for here.
Don’t overbake: This is the most common mistake I see. Pull the cookies out when the edges are set and golden, but the centers still look soft and slightly puffy. They’ll continue baking on the hot pan. Overbaked cookies might look fine in the oven, but they’ll be hard and dry once cooled.
Use a cookie scoop for even sizing: I used to eyeball my dough portions, and I’d end up with some cookies done and others underbaked. A #40 cookie scoop (about 1.5 tablespoons) gives you perfectly even cookies every time. Worth the few dollars it costs.
Press extra chocolate chips on top: This little trick makes your cookies look like they came from a bakery. After scooping, gently press a few chocolate chips into the tops of each dough ball. It creates those beautiful chocolate pools on the surface.
One mistake I still make: Sometimes I get impatient and skip the 5-minute cooling time on the baking sheet. The cookies look perfect, but when I try to move them, they break apart. Learn from my impatience—let them cool on the pan. The structure needs that time to set.
Variations & Adaptations
One of the best things about this recipe is how adaptable it is. Here are some variations I’ve tried and loved.
Double Chocolate Chip: Replace 2 tablespoons of flour with 2 tablespoons of unsweetened cocoa powder. Use white chocolate chips instead of semi-sweet for a gorgeous contrast. These are dangerously good—I once ate four in one sitting.
Gluten-Free Version: Swap the all-purpose flour for a 1:1 gluten-free baking flour blend. I’ve tested this with Bob’s Red Mill and King Arthur brands, and both work great. Add an extra tablespoon of flour to compensate for the different absorption rate.
Vegan Adaptation: Use vegan butter (I like Earth Balance) and replace the egg yolk with 1 tablespoon of aquafaba (the liquid from a can of chickpeas) mixed with 1 teaspoon of cornstarch. The texture is slightly different—a bit more cakey—but still delicious.
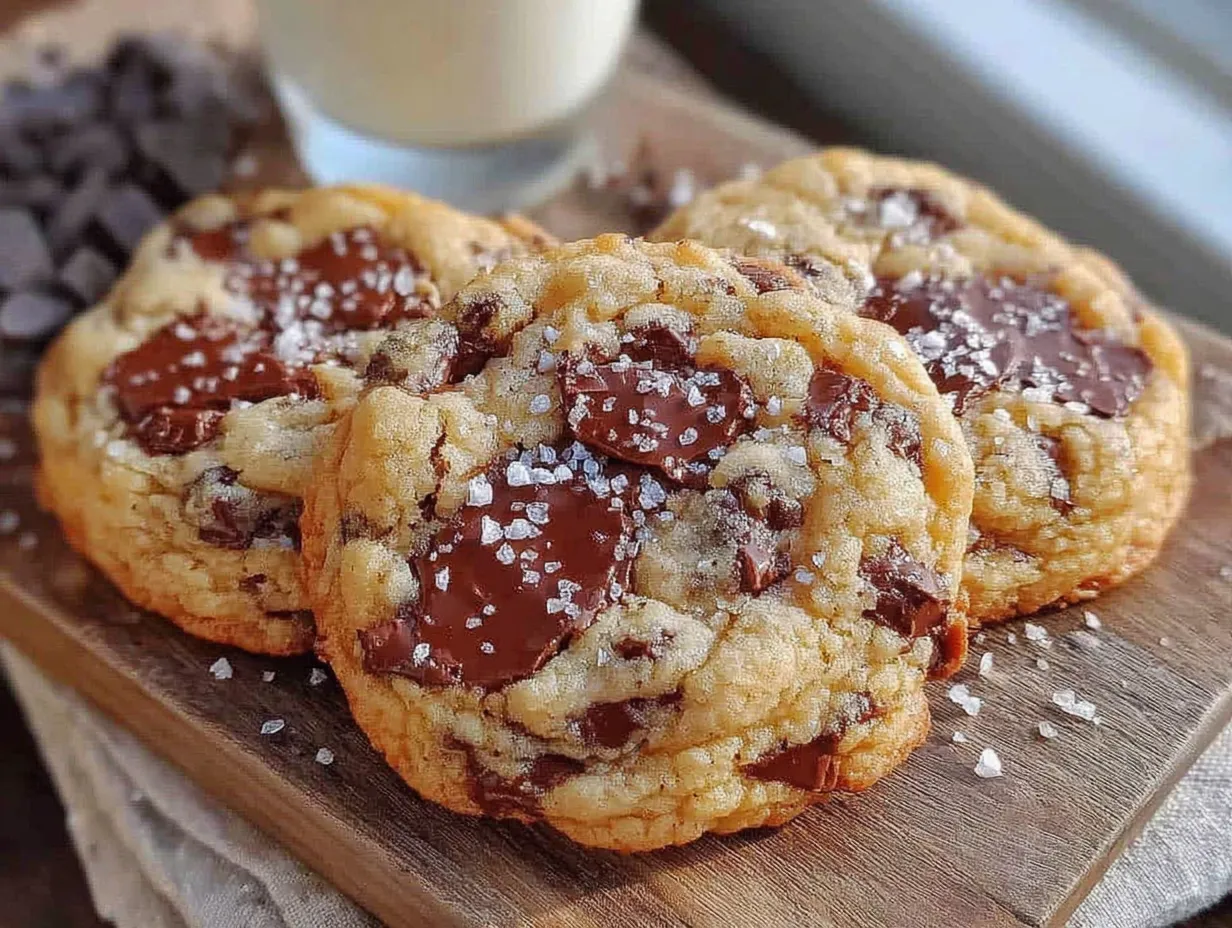
Add-In Variations: Swap half the chocolate chips for chopped nuts (walnuts or pecans work beautifully), dried cherries, or toffee bits. I made a batch with dark chocolate chunks and flaky sea salt on top, and honestly, it might be my favorite version yet.
Brown Butter Version: For a nuttier, more complex flavor, brown the butter before using. Melt the butter in a saucepan over medium heat, swirling occasionally, until it turns golden brown and smells nutty—about 5 minutes. Let it cool completely before using. Warning: this version is addicting.
Spiced Cookies: Add ½ teaspoon of cinnamon and ¼ teaspoon of nutmeg to the dry ingredients. These are perfect for fall baking, especially with some white chocolate chips mixed in.
I once made these cookies with chopped dark chocolate instead of chips, and the irregular chocolate pieces created these beautiful melty pools throughout. It’s now my favorite way to make them when I have a good chocolate bar on hand.
Serving & Storage Suggestions
These cookies are best served warm, straight from the oven, with a glass of cold milk. But let’s be real—they’re pretty amazing at room temperature too.
Serving temperature: Warm cookies have that gooey center and melty chocolate that’s pure comfort. If you’re serving them later, pop them in the microwave for 10-15 seconds to recreate that fresh-baked feel. For a fancy touch, serve with vanilla ice cream and a drizzle of chocolate sauce.
Storage: Store cookies in an airtight container at room temperature for up to 5 days. I like to put a slice of bread in the container—it absorbs excess moisture and keeps the cookies soft. Replace the bread slice every couple of days if needed.
Freezing instructions: These cookies freeze beautifully. You can freeze the baked cookies in a freezer-safe bag for up to 3 months. Thaw at room temperature for about 30 minutes. Or freeze the dough balls on a baking sheet, then transfer to a freezer bag. Bake from frozen, adding 2-3 minutes to the baking time.
How flavors develop: Honestly, these cookies taste even better the next day. The flavors meld together, and the texture becomes perfectly chewy. If you can resist eating them all on day one, you’re in for a treat on day two.
What to serve with them: A cold glass of milk is the classic pairing, but these cookies also go beautifully with coffee, hot chocolate, or a cup of tea. For a dessert spread, serve alongside fresh berries and whipped cream.
Nutritional Information & Benefits
I’m not going to pretend these cookies are health food—they’re a treat, and that’s okay. But here’s what you’re working with per cookie (based on 8 cookies):
- Calories: Approximately 210
- Fat: 12g
- Carbohydrates: 27g
- Protein: 3g
- Sugar: 17g
Health benefits of key ingredients: Dark chocolate contains antioxidants and can help improve heart health when consumed in moderation. Butter provides fat-soluble vitamins A, D, E, and K. And let’s be honest—sometimes the mental health benefit of a warm cookie is just as important as any nutritional value.
Dietary considerations: This recipe contains dairy (butter) and gluten (flour). For a dairy-free version, use vegan butter. For gluten-free, use a 1:1 gluten-free flour blend. The recipe is naturally nut-free if you skip any nut add-ins.
My perspective? Life is about balance. Enjoy these cookies as a treat, savor every bite, and don’t feel guilty about it. Food is meant to bring joy, and these cookies definitely deliver on that front.
Frequently Asked Questions
Can I use the whole egg instead of just the yolk?
You can, but the cookies will be slightly more cakey and less chewy. The egg white adds moisture that creates a softer, puffier texture. If you only have whole eggs and don’t want to waste the white, go ahead—they’ll still taste great, just different.
Why did my cookies spread too much?
This usually happens when the butter is too warm or the dough wasn’t chilled long enough. Make sure your melted butter has cooled to room temperature before mixing, and don’t skip the 15-minute chill. If your kitchen is particularly warm, chill the dough for 20-25 minutes instead.
Can I double this recipe?
Absolutely! This recipe scales beautifully. Just double all the ingredients and use a whole egg instead of two yolks (the extra moisture from the white helps with the larger batch). You might need to bake in batches since a standard oven can only fit one sheet at a time.
How do I make these cookies softer?
For softer cookies, reduce the baking time by 1-2 minutes and let them cool completely on the baking sheet. You can also add an extra tablespoon of brown sugar, which adds moisture and keeps cookies tender. Storing them with a slice of bread also helps maintain softness.
Can I make the dough ahead of time?
Yes! The dough can be refrigerated for up to 3 days in an airtight container. Let it sit at room temperature for 10 minutes before scooping and baking. You can also freeze the dough balls for up to 3 months—just bake from frozen, adding 2-3 minutes to the baking time.
Conclusion
These chewy small-batch chocolate chip cookies have become my go-to for a reason. They’re simple, reliable, and absolutely delicious. No mixer, no fuss, no complicated techniques—just pure cookie satisfaction in under 30 minutes.
I love that this recipe proves you don’t need fancy equipment or rare ingredients to make something truly special. It’s just you, a bowl, a spoon, and a craving worth satisfying. Whether you’re baking at midnight in your pajamas or whipping up a quick dessert for unexpected guests, these cookies deliver every single time.
So go ahead—preheat that oven, melt that butter, and treat yourself to something wonderful. And when you make these cookies (because I know you will), I’d love to hear how they turned out. Did you add your own twist? Did they disappear as quickly as mine always do? Drop a comment below and share your cookie story. Happy baking, friend!
Pin This Recipe!
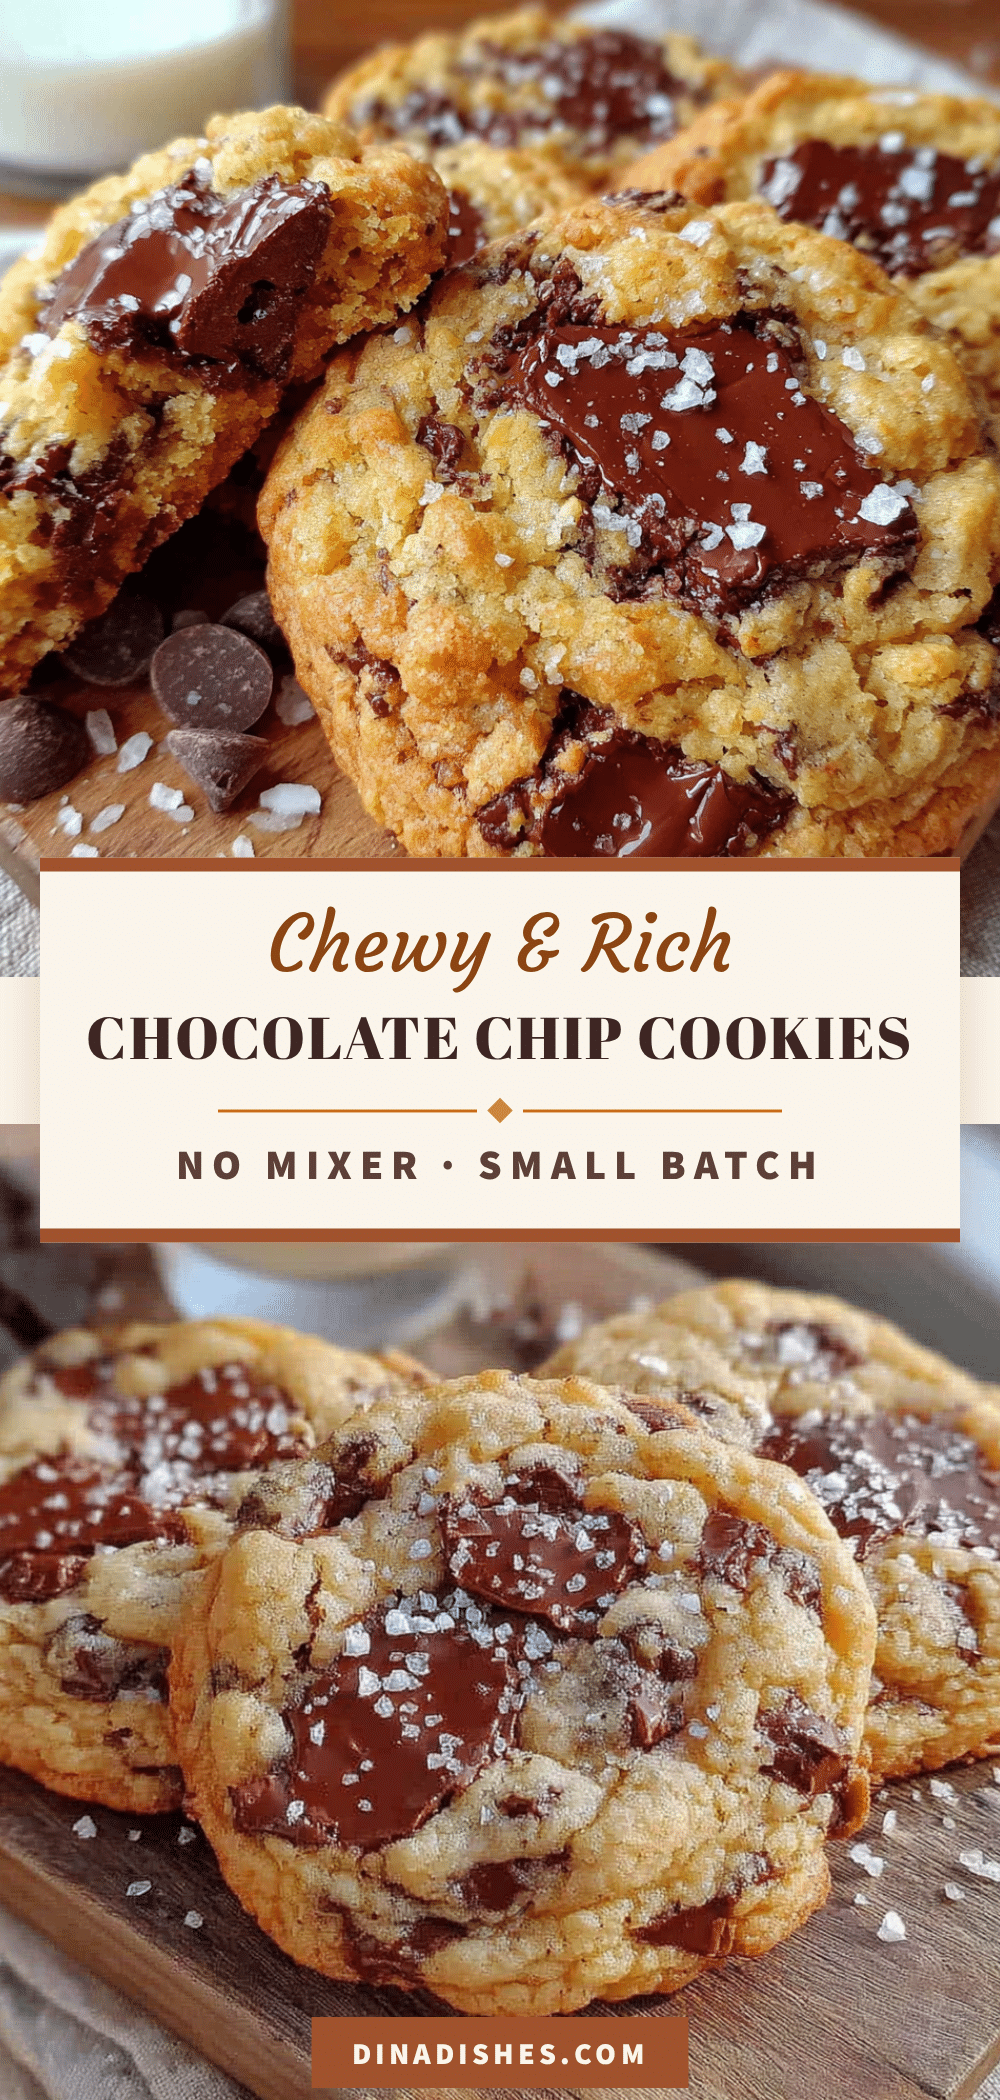
Chewy Small-Batch Chocolate Chip Cookies – Easy No Mixer Recipe

These chewy small-batch chocolate chip cookies require no mixer and are ready in under 30 minutes. Perfect for late-night cravings or when you need a quick, satisfying treat.
- Prep Time: 10 minutes
- Cook Time: 10 minutes
- Total Time: 25 minutes
- Yield: 8 servings 1x
- Category: Dessert
- Cuisine: American
Ingredients
- 5 tablespoons (70g) unsalted butter, melted
- ¼ cup (50g) granulated sugar
- ¼ cup (50g) light brown sugar, packed
- 1 large egg yolk
- 1 teaspoon vanilla extract
- ¾ cup (95g) all-purpose flour
- ¼ teaspoon baking soda
- ¼ teaspoon salt
- ½ cup (90g) semi-sweet chocolate chips
Instructions
- Preheat your oven to 350°F (175°C). Line a baking sheet with parchment paper.
- Melt the butter in a microwave-safe bowl for about 30-40 seconds, or in a small saucepan over low heat. Let it cool for 2 minutes.
- In a medium mixing bowl, combine the melted butter, granulated sugar, and brown sugar. Stir until it looks like wet sand—about 30 seconds.
- Add the egg yolk and vanilla extract to the butter-sugar mixture. Stir vigorously for about 1 minute until lighter in color and slightly thicker.
- In a separate small bowl, whisk together the flour, baking soda, and salt.
- Add the dry ingredients to the wet ingredients in two additions, stirring gently after each. Mix just until no streaks of flour remain.
- Fold in the chocolate chips with your spatula. Reserve a handful to press into the tops of the dough balls later.
- Cover the bowl with plastic wrap and refrigerate for 15 minutes.
- Scoop the dough into 6-8 equal portions, about 1.5 tablespoons each. Roll them into balls and place them 2 inches apart on the prepared baking sheet. Press a few reserved chocolate chips into the tops of each dough ball.
- Bake for 9-11 minutes at 350°F. The cookies should look golden around the edges but still soft and slightly underdone in the center.
- Let the cookies cool on the baking sheet for 5 minutes. Then transfer to a cooling rack to cool completely.
Notes
For best results, use room temperature ingredients. The 15-minute chill is essential for chewy cookies. Do not overbake; cookies will continue to set on the hot pan. Store in an airtight container for up to 5 days.
Nutrition
- Serving Size: 1 cookie
- Calories: 210
- Sugar: 17
- Sodium: 120
- Fat: 12
- Saturated Fat: 7
- Carbohydrates: 27
- Fiber: 1
- Protein: 3
Keywords: chocolate chip cookies, small batch, no mixer, chewy cookies, easy cookies, midnight snack