I was standing in the bread aisle last Tuesday — a Tuesday, of all days — when a woman walked past me, and I caught the faintest whiff of honey mustard. Not the sharp, vinegary kind. The sweet, almost sticky kind, the one that comes in those little packets from the deli counter. And just like that, I was seven years old, sitting cross-legged on the linoleum floor of my aunt Rita’s kitchen, watching her build what she called “the perfect lunch.” She’d spread that honey mustard on soft white bread like she was painting a masterpiece, layering turkey and cheese with the seriousness of a surgeon. I can still see the way she’d press down on the sandwich with the flat of her hand, like she was sealing a secret inside. She passed away two years ago, and I haven’t thought about those lunches in forever. But that smell — it hit me right in the chest, right there in the grocery store. I grabbed a pack of tortillas instead of bread, a bag of pre-sliced turkey, and a block of cheddar. I wasn’t sure what I was making yet. I just knew I had to try.
Honestly, I almost abandoned the whole thing in the parking lot. I had the ingredients, but I also had a screaming toddler in the cart and a text from my husband asking what was for dinner. You know that feeling, right? When the nostalgia wears off and reality comes crashing back? But I made these Easy Turkey and Cheese Lunchbox Wraps that night, just to see if I could capture even a sliver of what Aunt Rita had. And let me tell you — they weren’t just good. They were the kind of good that makes you close your eyes after the first bite. Soft, chewy tortillas wrapped around creamy cheese, savory turkey, and that little kick of mustard. It was her lunch, but in a form that actually works for my life now. No soggy bread, no complicated assembly. Just a wrap that tastes like a memory but fits in a lunchbox. Maybe you’ve been there, trying to recreate a feeling from your childhood and ending up with something that’s totally different but somehow exactly right. That’s what these are. They’re not Aunt Rita’s sandwiches. They’re better, because they’re mine.
Why You’ll Love This Recipe
I’ve tested this recipe more times than I care to admit — through soggy tortillas, overstuffed wraps that fell apart, and one particularly sad attempt where I forgot the cheese entirely. After all that trial and error, I can confidently say these wraps are the real deal. Here’s why they work:
- Quick & Easy: Comes together in under 10 minutes flat. Perfect for those chaotic school mornings when you’re running on coffee and sheer willpower.
- Simple Ingredients: You probably have everything in your fridge right now. No fancy grocery trips needed — just turkey, cheese, tortillas, and a few pantry staples.
- Perfect for Back-to-School: These wraps are built for lunchboxes. They hold up beautifully, don’t get soggy, and kids actually eat them without complaint.
- Crowd-Pleaser: I’ve packed these for school lunches, picnics, and even road trips. Kids and adults alike gobble them up. My neighbor’s kid asked for the recipe, and he’s notoriously picky.
- Unbelievably Delicious: The combination of soft tortillas, melty cheese, and savory turkey is pure comfort food. But the real magic is in the spread — a simple mix of mayonnaise and mustard that ties everything together.
What makes these wraps different from every other turkey wrap out there? It’s the technique. I learned the hard way that spreading the condiments all the way to the edges of the tortilla prevents dry bites. And I figured out that layering the cheese first creates a barrier that keeps the turkey from making the wrap soggy by lunchtime. Little things, I know, but they make all the difference. This isn’t just another recipe — it’s my best version, born from a dozen failed attempts and a whole lot of love.
These wraps are the kind of meal that makes you feel like you’ve got it together, even on days when you definitely don’t. They’re comfort food reimagined for real life — faster, simpler, but with the same soul-soothing satisfaction. Perfect for impressing your kid’s lunch table without any stress, or turning a simple meal into something memorable.
What Ingredients You Will Need
This recipe uses simple, everyday ingredients to deliver big flavor and satisfying texture without any fuss. Most of these are pantry staples you probably already have on hand. Let me walk you through each one and share a few tips I’ve picked up along the way.
For the Wraps
- Large flour tortillas (10-inch) — I prefer Mission or Guerrero brand for their flexibility. Burrito-sized works best because they hold the filling without tearing. Look for ones that are soft and pliable, not stiff. (Whole wheat or spinach tortillas work great too.)
- Deli-sliced turkey breast (8-10 slices per wrap) — Go for oven-roasted or smoked turkey for the best flavor. I like Boar’s Head or Hillshire Farm. Avoid the super-thin shaved kind; it tends to get lost in the wrap. (Use rotisserie chicken if you’re out of turkey.)
- Sliced cheddar cheese (2-3 slices per wrap) — Sharp cheddar adds the most flavor, but mild works too. I recommend Tillamook or Cabot for that perfect melt. (Swap with provolone, Swiss, or pepper jack for a different vibe.)
- Mayonnaise (2 tablespoons per wrap) — Full-fat is best for creaminess. I’m a Hellmann’s loyalist, but Duke’s is fantastic if you like a tangier spread. (Use Greek yogurt for a lighter option.)
- Dijon mustard (1 teaspoon per wrap) — This adds that subtle kick that makes the wrap sing. Grey Poupon is my go-to. (Yellow mustard or honey mustard work in a pinch.)
- Romaine lettuce leaves (2-3 per wrap) — Crisp, fresh leaves add crunch. Pat them completely dry before assembling to avoid sogginess. (Spinach or butter lettuce are great alternatives.)
- Salt and black pepper (to taste) — Just a pinch elevates all the flavors. Don’t skip this.
Optional Add-Ins
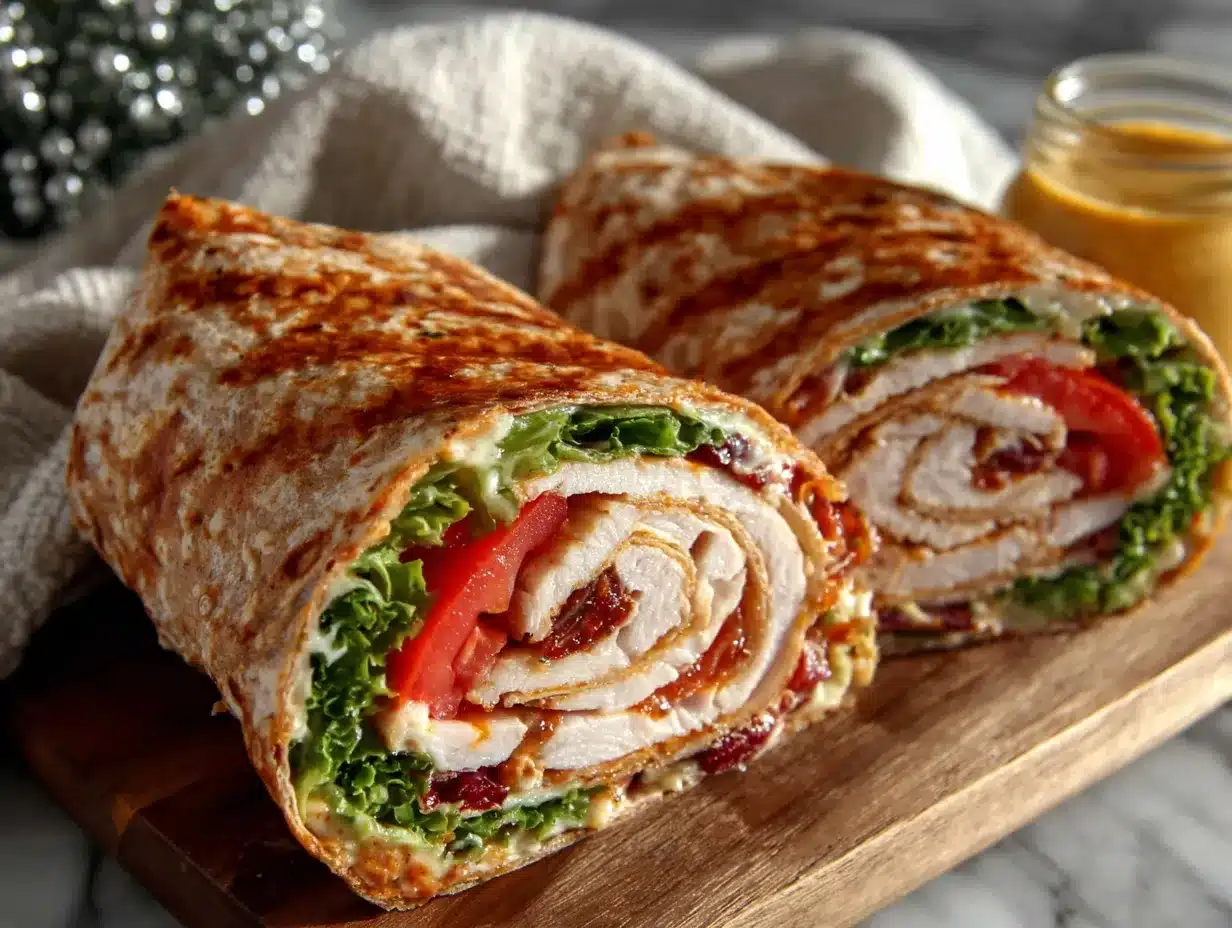
- Tomato slices — Adds juiciness, but remove the seeds first to prevent sogginess.
- Avocado slices — Creamy and delicious. Sprinkle with a little lime juice to keep them from browning.
- Bacon bits — Because everything is better with bacon. Cook them crispy and crumble them on top.
- Sprouts or shredded carrots — For extra crunch and nutrition without altering the flavor profile.
One thing I’ve learned: don’t overcomplicate the ingredient list. The beauty of this recipe is its simplicity. Each component has a job to do, and when they work together, magic happens. If you’re feeling adventurous, try adding a smear of cream cheese or a sprinkle of everything bagel seasoning. But honestly, the classic version is hard to beat.
Equipment Needed
You don’t need fancy equipment for these wraps — that’s part of the charm. Here’s what you’ll need:
- A large cutting board — Gives you plenty of space to work. I use a wooden one, but plastic is fine too.
- A sharp chef’s knife — For slicing the wraps cleanly. A dull knife will squish them. I recommend a 8-inch chef’s knife; Victorinox makes a great budget-friendly option.
- A butter knife or offset spatula — For spreading the mayo and mustard evenly. An offset spatula is my secret weapon for getting right to the edges.
- Plastic wrap or parchment paper — For wrapping the assembled rolls tightly. This helps them hold their shape when you slice them.
- Airtight lunch containers — Keeps the wraps fresh and prevents them from getting crushed in a backpack. I like bento-style boxes with compartments.
If you don’t have a sharp knife, run your blade under hot water before slicing — it helps cut through the tortilla cleanly without tearing. And if you’re short on time, you can skip the plastic wrap step and just slice the wraps directly. They’ll still taste great, just a little less tidy.
Preparation Method
Let me walk you through this step by step. I’ve included all the little details I wish someone had told me the first time I made these.
- Prep your ingredients (5 minutes) — Lay out your tortillas on a clean work surface. If they’re cold from the fridge, let them sit at room temperature for 5 minutes — cold tortillas crack when you roll them. Pat your lettuce leaves completely dry with paper towels. Any moisture will make the wrap soggy by lunchtime. Slice your cheese if it isn’t pre-sliced. Set everything within arm’s reach.
- Make the spread (1 minute) — In a small bowl, mix 2 tablespoons of mayonnaise with 1 teaspoon of Dijon mustard per wrap. Stir until smooth. Taste it and adjust — I like a little more mustard for tang, but my kids prefer it milder. This is your flavor base, so get it right. Spread the mixture evenly over the entire surface of each tortilla, leaving about a 1-inch border around the edges. Don’t skimp on the edges — dry bites are the enemy of a good wrap.
- Layer the cheese (1 minute) — Place 2-3 slices of cheddar cheese in the center of the tortilla, slightly overlapping. Leave about 2 inches of space on the sides. The cheese acts as a barrier between the tortilla and the turkey, which helps prevent sogginess. Trust me on this one — I learned it after my first few wraps turned into a mushy mess.
- Add the turkey (2 minutes) — Layer 8-10 slices of turkey on top of the cheese. Don’t pile them all in the center — distribute them evenly across the cheese layer. You want every bite to have turkey. If you’re using add-ins like tomato or avocado, place them on top of the turkey now. Sprinkle with a pinch of salt and pepper.
- Add the lettuce (1 minute) — Place 2-3 lettuce leaves on top of the turkey. Press them down gently so they don’t shift when you roll. The lettuce adds crunch and a fresh element that balances the richness of the cheese and mayo.
- Roll the wrap (2 minutes) — Fold the sides of the tortilla inward over the filling, about 1 inch on each side. Then, starting from the bottom edge, roll the tortilla tightly away from you. Use your fingers to tuck the filling in as you go. Roll until you reach the top edge. The seam should be facing down. Don’t roll too loosely — a tight roll keeps everything together. If the tortilla cracks, you’ve overfilled it or the tortilla was too cold.
- Wrap and chill (5 minutes, optional but recommended) — Tightly wrap each rolled wrap in plastic wrap or parchment paper. Twist the ends like a candy wrapper. Refrigerate for at least 10 minutes before slicing. This step firms up the wrap and makes it easier to cut cleanly. If you’re in a rush, you can skip it, but the slices won’t be as neat.
- Slice and serve (2 minutes) — Unwrap the chilled roll and place it on your cutting board. Using a sharp chef’s knife, slice the wrap crosswise into 1-inch rounds. You should get about 6-8 pieces per wrap. Arrange them cut-side up in a lunchbox or on a plate. The exposed spirals of turkey, cheese, and lettuce look gorgeous and inviting.
A few things I’ve learned: If the tortilla tears during rolling, don’t panic. Just wrap it tightly in plastic wrap and let it rest — the moisture from the spread will help seal the tear. And if you’re packing these for school, slice them the night before and store them in an airtight container in the fridge. They hold up beautifully overnight.
Cooking Tips & Techniques
After making these wraps more times than I can count, I’ve collected a few tricks that separate a good wrap from a great one. Let me share what I’ve learned — including the mistakes.
Temperature matters. Cold tortillas crack. Warm tortillas tear. Room temperature is the sweet spot. Take them out of the fridge 10 minutes before assembling. If you forget, microwave them for 10 seconds on a plate — but don’t overdo it, or they’ll become brittle.
Spread to the edges. This was my biggest aha moment. If you leave a bare border, you’ll end up with bites that are just dry tortilla. Spread the mayo-mustard mixture all the way to the edge. It acts like glue, helping the wrap stay closed and adding flavor to every single bite.
Don’t overfill. I know it’s tempting to pile on the turkey and cheese, but less is more. An overstuffed wrap is impossible to roll and falls apart when you slice it. Stick to the amounts I’ve listed. If you want more filling, make two wraps instead of one giant, messy one.
Let it rest. I cannot stress this enough. Letting the wrapped roll chill in the fridge for 10-15 minutes before slicing is the difference between neat pinwheels and a squished mess. The filling settles, the tortilla softens slightly, and everything holds together perfectly. I once skipped this step because I was running late, and I ended up with what looked like a turkey and cheese salad on a plate.
Use a sharp knife. A dull knife will squish the wrap and push the filling out. Run your knife under hot water before slicing, then wipe it clean between cuts. This gives you clean, beautiful slices every time.
Timing strategy. I make these the night before school mornings. It takes 10 minutes, and then I don’t have to think about lunch at 7 AM when I’m half asleep. They actually taste better the next day — the flavors meld together beautifully overnight.
One failure I’ll never forget: I once used low-fat cheese and fat-free mayo to make these “healthier.” The result was a dry, flavorless wrap that my kid refused to eat. Lesson learned — use the real stuff. A little goes a long way, and the taste difference is night and day.
Variations & Adaptations
These wraps are surprisingly versatile. Here are a few variations I’ve tried and loved:
Dietary Adaptations — For a gluten-free version, use corn tortillas or large gluten-free wraps. Just note that corn tortillas are smaller and more delicate, so use less filling. For a dairy-free option, swap the cheddar with vegan cheese slices or skip the cheese entirely and add extra avocado for creaminess. I’ve tried both, and the avocado version is honestly delicious in its own right.
Flavor Twists — Swap the cheddar for pepper jack if you like a little heat. Use smoked turkey and add a smear of cranberry sauce for a Thanksgiving-inspired wrap. Or go Mediterranean with turkey, feta cheese, cucumber slices, and a drizzle of tzatziki sauce instead of mayo. My personal favorite? A California version with turkey, provolone, avocado, and a sprinkle of everything bagel seasoning. It’s become my go-to for adult lunches.
Different Cooking Methods — While these are designed as no-cook wraps, you can toast them in a panini press or skillet for 2-3 minutes per side for a warm, crispy version. Just be careful not to overstuff them if you’re going this route. I made this for a quick dinner once, and the melted cheese took it to a whole new level.
Seasonal Variations — In the fall, add thin apple slices and a drizzle of honey mustard. In the summer, swap the turkey for grilled chicken and add fresh basil leaves. I’ve even made a spring version with turkey, brie, and arugula that felt fancy but took the same 10 minutes.
Don’t be afraid to experiment. The basic formula — tortilla, spread, cheese, protein, crunch — is endlessly adaptable. I’ve made these with leftover roasted chicken, sliced ham, and even canned tuna. They always work.
Serving & Storage Suggestions
These wraps are best served cold or at room temperature, which makes them ideal for lunchboxes. I like to arrange the sliced pinwheels cut-side up in a bento box, with a small container of extra dipping sauce on the side. Ranch dressing, honey mustard, or even a simple vinaigrette all work beautifully.
For a complete lunch, pair these wraps with some fresh fruit, baby carrots, and a small treat. The colorful presentation makes kids more excited to eat them — I’ve noticed my daughter eats the pinwheels first, then the fruit, then grudgingly the carrots. It’s a win.
Storage Instructions — Store assembled wraps (whole or sliced) in an airtight container in the refrigerator for up to 3 days. The flavors actually improve after a day in the fridge. Do not freeze these wraps — the texture of the lettuce and tortilla suffers badly upon thawing. I learned this the hard way when I tried to meal prep a month’s worth. Don’t do it.
Reheating Tips — These are designed to be eaten cold, but if you want a warm wrap, skip the lettuce and tomato. Toast the assembled wrap in a skillet over medium heat for 2-3 minutes per side until the cheese melts and the tortilla is golden brown. Let it cool for a minute before slicing. This version is perfect for a quick dinner.
One thing I love about these wraps is how they hold up. Unlike sandwiches that get soggy by noon, these stay fresh and delicious. The cheese barrier really does work. I’ve packed these at 6 AM, and they’ve been perfect at lunchtime. That’s the kind of reliability you need in a school lunch.
Nutritional Information & Benefits
Here’s the estimated nutritional breakdown for one wrap (without optional add-ins):
| Nutrient | Amount per wrap |
|---|---|
| Calories | 380-420 |
| Protein | 28g |
| Carbohydrates | 32g |
| Fat | 16g |
| Saturated Fat | 7g |
| Fiber | 2g |
| Sodium | 890mg |
These wraps offer a solid balance of protein, carbs, and fats. The turkey provides lean protein that keeps kids full and focused through the afternoon. The cheddar cheese adds calcium for strong bones and teeth. And the whole wheat tortilla (if you use it) contributes fiber for digestive health.
If you’re watching your sodium intake, look for low-sodium turkey and use less cheese. I’ve also made these with reduced-fat cheese and whole wheat tortillas, and they still taste great. The protein content makes this a satisfying lunch that won’t leave anyone reaching for a snack an hour later.
One note: these wraps contain dairy (cheese) and gluten (tortillas). For allergen-friendly options, check the variations section above.
Conclusion
These Easy Turkey and Cheese Lunchbox Wraps are more than just a recipe — they’re a little piece of peace in the chaos of back-to-school season. They take 10 minutes to make, use ingredients you already have, and actually taste good. Plus, they make you look like a superhero parent, even on days when you’re barely holding it together.
I love these wraps because they remind me that simple food, made with care, is always enough. They’re not fancy or complicated. They’re just good. And honestly, that’s what we all need sometimes — a reliable, delicious meal that works. Whether you’re packing lunches for picky eaters or just need a quick lunch for yourself, these wraps deliver.
I’d love to hear how yours turn out. Did you add something unexpected? Did your kid actually eat them? Drop a comment below and let me know. And if you loved this recipe, share it with a friend who’s dreading the school lunch grind. We’re all in this together.
Now go make some wraps. Your lunchbox — and your sanity — will thank you.
Frequently Asked Questions
Can I make these wraps ahead of time?
Absolutely! These wraps are perfect for meal prep. Assemble them the night before, wrap tightly in plastic wrap, and store in the refrigerator. They’ll stay fresh for up to 3 days. Just slice them right before packing to keep the edges neat.
How do I keep the wraps from getting soggy?
The key is the cheese barrier. Layering the cheese directly on the tortilla before adding the turkey prevents moisture from seeping through. Also, make sure your lettuce is completely dry — pat it with paper towels before adding it to the wrap.
Can I use a different type of meat?
Definitely! These wraps work beautifully with ham, roast beef, grilled chicken, or even leftover rotisserie chicken. Just adjust the amount based on the meat’s thickness. Salami or pepperoni would also be delicious for an Italian-inspired version.
What’s the best way to slice the wraps without them falling apart?
Chill the assembled wrap in the refrigerator for at least 10 minutes before slicing. Use a sharp chef’s knife, and run it under hot water between cuts. Slice gently with a sawing motion rather than pressing down hard.
Can I freeze these wraps for later?
I don’t recommend freezing these wraps because the lettuce and tortilla texture suffer after thawing. However, you can freeze the components separately — cook and slice the turkey, shred the cheese, and assemble fresh when needed. It still saves time!
Pin This Recipe!
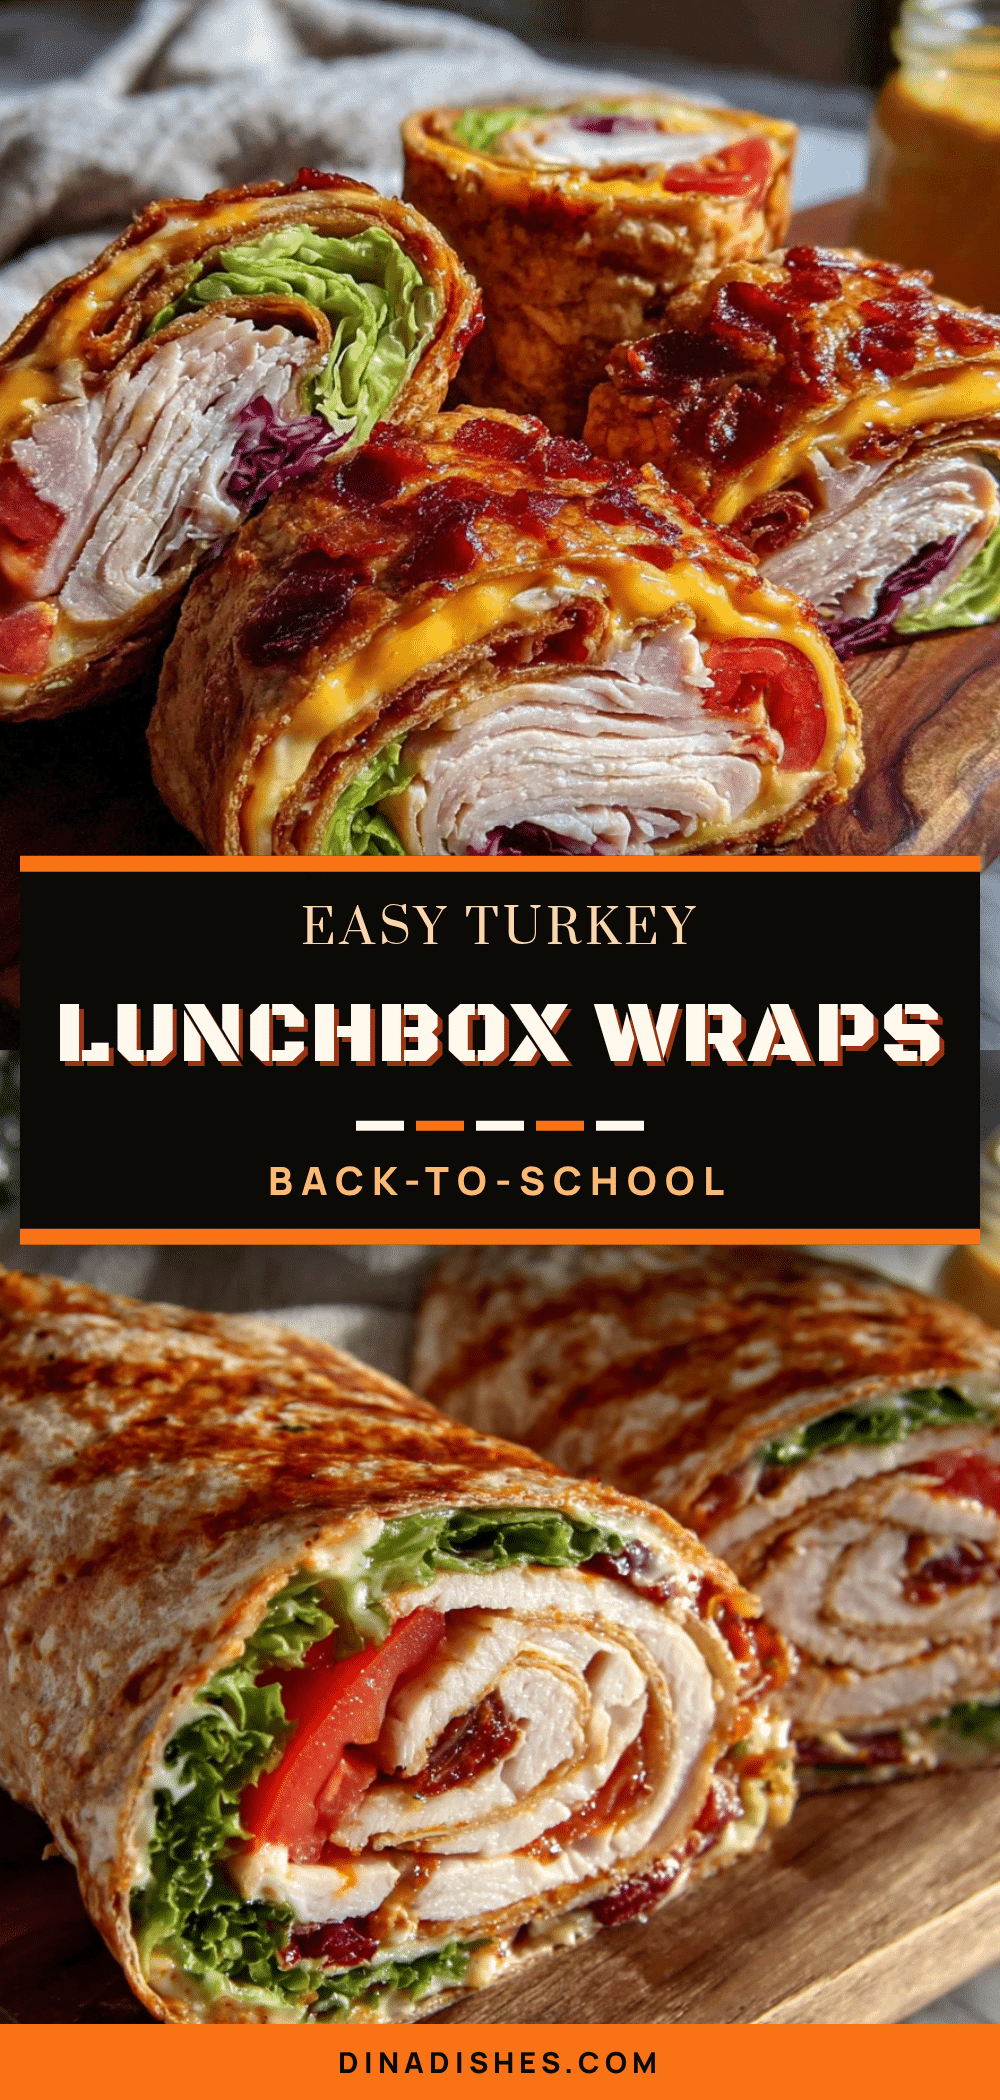
Easy Turkey and Cheese Lunchbox Wraps

Soft, chewy tortillas wrapped around creamy cheese, savory turkey, and a little kick of mustard. These wraps are quick, simple, and perfect for lunchboxes, picnics, or a quick dinner.
- Prep Time: 10 minutes
- Cook Time: 0 minutes
- Total Time: 10 minutes
- Yield: 4 servings 1x
- Category: Lunch
- Cuisine: American
Ingredients
- 4 large flour tortillas (10-inch)
- 8–10 slices deli-sliced turkey breast per wrap
- 2–3 slices cheddar cheese per wrap
- 2 tablespoons mayonnaise per wrap
- 1 teaspoon Dijon mustard per wrap
- 2–3 romaine lettuce leaves per wrap
- Salt and black pepper to taste
Instructions
- Prep your ingredients: Lay out tortillas at room temperature. Pat lettuce dry. Slice cheese if needed.
- Make the spread: Mix mayonnaise and Dijon mustard. Spread evenly over each tortilla, leaving a 1-inch border.
- Layer the cheese: Place 2-3 slices of cheddar in the center, slightly overlapping, leaving 2 inches on the sides.
- Add the turkey: Layer 8-10 slices of turkey evenly over the cheese. Sprinkle with salt and pepper.
- Add the lettuce: Place 2-3 lettuce leaves on top and press gently.
- Roll the wrap: Fold sides inward, then roll tightly from the bottom. Place seam-side down.
- Wrap and chill: Wrap each roll in plastic wrap and refrigerate for at least 10 minutes (optional but recommended).
- Slice and serve: Slice crosswise into 1-inch rounds. Arrange cut-side up in a lunchbox or on a plate.
Notes
For best results, let tortillas come to room temperature before assembling. Spread condiments to the edges to prevent dry bites. Layer cheese first to create a moisture barrier. Chill assembled wraps before slicing for cleaner cuts. Wraps can be stored in the refrigerator for up to 3 days. Do not freeze.
Nutrition
- Serving Size: 1 wrap
- Calories: 400
- Sugar: 2
- Sodium: 890
- Fat: 16
- Saturated Fat: 7
- Carbohydrates: 32
- Fiber: 2
- Protein: 28
Keywords: turkey wraps, lunchbox wraps, easy lunch, back to school, turkey and cheese wraps, pinwheels


